When it comes to adding a touch of flair to your outfit,few accessories can make a statement quite like a metal lapel pin. Whether you’re looking to show off your favorite hobby, support a cause, or simply elevate your style, creating your own custom metal lapel pin can be a fun and rewarding project. In this article, we’ll take you through the step-by-step process of making your own metal lapel pins, so grab your supplies and let’s get crafting!
Materials Needed for Making Metal Lapel Pins
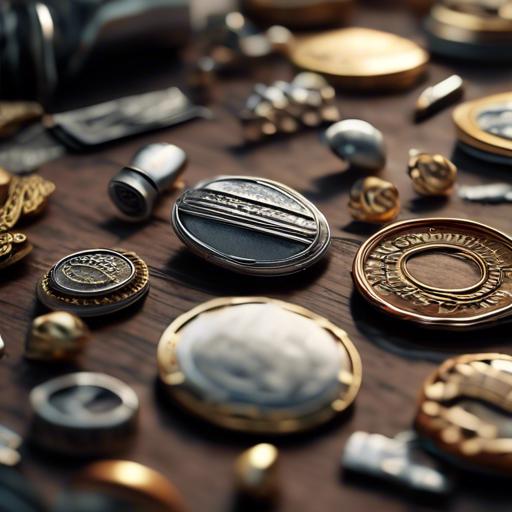
To create your own metal lapel pins, you will need a few essential materials. First, you will need metal blanks to serve as the base of your pins. These can be purchased in various shapes and sizes depending on your design preferences. You will also need enamel paints in the colors of your choice to add vibrant accents to your pins. Additionally, you will need pin backs to attach your finished pins to clothing or accessories.
In addition to the basic materials, you may also want to consider investing in enamel pin molds to help shape your metal blanks into intricate designs. Jewellery pliers will also come in handy for bending and shaping the metal.you may want to have epoxy resin on hand to protect and seal your finished lapel pins for long-lasting durability. With these materials in hand, you’ll be well on your way to creating your own unique metal lapel pins.
Choosing the Right Design for Your Lapel Pin
When it comes to , there are several factors to consider. to make sure your metal lapel pin stands out and represents your brand or message effectively, follow these tips:
- Consider the purpose: Think about the message or branding you want to convey with your lapel pin.Are you representing a company, a cause, or a personal interest?
- Design elements: Choose design elements that are clear and easy to recognize. Avoid cluttered or intricate designs that may not translate well onto a small pin.
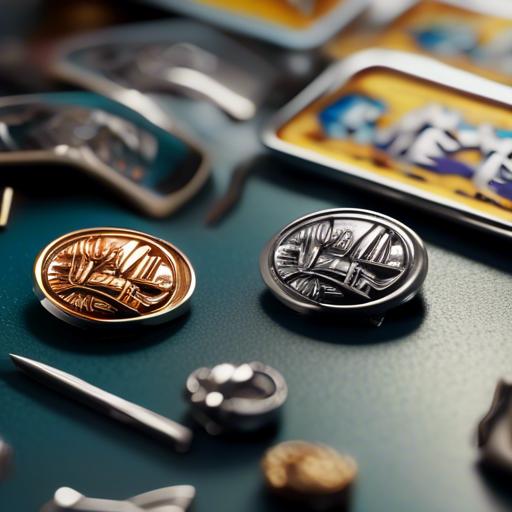
- Color scheme: Select colors that complement each other and enhance the overall aesthetic of the pin. Consider using your brand colors for consistency.
| Shape: | Consider the shape of your pin in relation to your design. Round, square, or custom shapes can impact the overall look. |
| Size: | Choose a size that is appropriate for your design and intended use. Larger pins might potentially be more eye-catching, while smaller pins are more subtle. |
Step-by-Step guide to creating Metal Lapel Pins
To create your own unique metal lapel pins,follow these simple steps:
First,gather all the necessary materials,including metal pin blanks,enamel paint,a design template,a fine paintbrush,and a clear topcoat. next,trace your design onto the metal pin blank using a pencil. Once you are satisfied with the design, carefully fill it in with the enamel paint. Allow the paint to dry wholly before moving on to the next step.
After the paint has dried, apply a clear topcoat to seal and protect the design. Once the topcoat has dried, attach a pin backing to the back of the lapel pin using strong adhesive. Your custom metal lapel pin is now ready to wear and show off to the world! Experiment with different designs, colors, and shapes to create a collection of unique lapel pins that express your personal style.
Tips and tricks for a Professional Finish
To achieve a professional finish when making metal lapel pins, it is important to pay attention to detail and follow these tips and tricks. First and foremost, make sure to choose high-quality materials for your lapel pins. Opt for durable metals such as brass or stainless steel that will withstand wear and tear.
Next, consider the design of your lapel pins carefully.Simple and clean designs often result in a more polished look. Avoid overcrowding the pin with too many details, as this can make it appear cluttered. Rather, focus on one central image or motif that is meaningful and visually appealing. For added flair, consider adding enamel or colored accents to your lapel pins to make them truly stand out. Remember, less is more when it comes to creating a professional-looking lapel pin.
Q&A
Q: How can I make metal lapel pins?
A: Making metal lapel pins is a fun and creative process that can be done at home.
Q: What materials do I need to make metal lapel pins?
A: To make metal lapel pins, you will need metal pin blanks, enamel paint, a paintbrush, a baking sheet, and an oven.
Q: How do I design my metal lapel pins?
A: You can design your metal lapel pins by sketching out your design on paper beforehand, then transferring it onto the metal pin blank with enamel paint.
Q: How do I fill in the design on my metal lapel pin?
A: You can fill in the design on your metal lapel pin by carefully painting within the lines of your design with enamel paint.
Q: How do I cure the enamel paint on my metal lapel pin?
A: After painting your design on the metal pin blank,you can cure the enamel paint by placing the pin on a baking sheet and baking it in the oven according to the paint manufacturer’s instructions.
Q: How can I add extra details to my metal lapel pin?
A: You can add extra details to your metal lapel pin by using additional colors of enamel paint, glitter, or even small embellishments like rhinestones or beads.
Q: How can I attach a pin backing to my metal lapel pin?
A: You can attach a pin backing to your metal lapel pin by using a strong adhesive or by soldering the pin backing onto the back of the pin blank.
The Way Forward
As we come to the end of our journey on how to make metal lapel pins, I hope you have found inspiration and useful tips to create your own unique designs.Remember, the beauty of crafting is in the freedom to express yourself creatively, so don’t be afraid to experiment and push the boundaries. Whether you’re making pins for yourself or for a special occasion, the process of designing and crafting metal lapel pins can be a rewarding and fulfilling experience.So gather your materials, unleash your creativity, and let your imagination run wild. Happy crafting!


