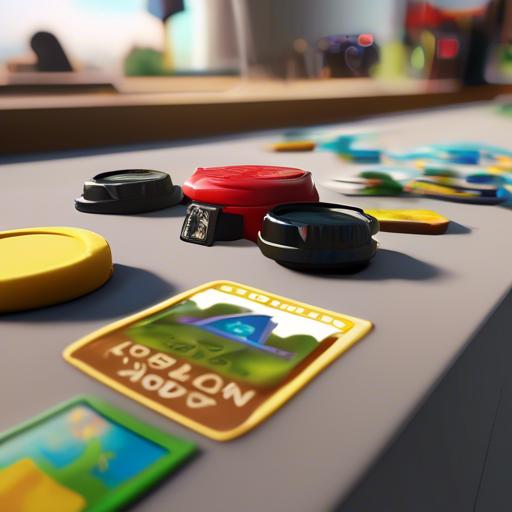
As someone who has spent countless hours waiting in line for a visitor badge at various events and offices, I’ve often found myself wishing for a quicker and easier way too obtain thes necessary credentials. That’s why I decided to take matters into my own hands and learn how to make my own personalized ID badges. In this article, I’ll share with you the step-by-step process of creating professional-looking badges that are sure to impress. Say goodbye to boring and generic badges and hello to a more efficient and stylish solution!
Choosing the Right Materials for Your ID Badges
When it comes to creating ID badges, choosing the right materials is key to ensuring durability and security.There are several options to consider, each with its own unique properties and benefits. Here are some factors to keep in mind when selecting materials for your ID badges:
One popular option is PVC, which is durable, flexible, and resistant to water and abrasions. Another choice is polycarbonate,which is known for its high-impact resistance and long lifespan. For a more eco-amiable option,consider using recycled materials or biodegradable plastics.Whichever material you choose, be sure to also invest in quality printing and lamination to ensure that your ID badges stay looking professional and secure.
Design Tips for Creating Professional ID Badges
When creating professional ID badges, it is significant to pay attention to the design to ensure they are both visually appealing and functional. one key tip is to keep the design simple and clean, avoiding cluttered layouts that can be tough to read. Use a professional color scheme,such as black,white,and gray,to convey a sense of professionalism.
In addition, consider adding key details in a clear and easy-to-read font.Include the individual’s name, position, and company logo prominently on the badge. Utilize high-quality images and graphics to enhance the overall look of the badge. By following these design tips, you can create professional ID badges that make a positive impression on clients and colleagues.
Printing and Laminating Techniques for Durability
To create durable ID badges, it is indeed critically important to use the right printing and laminating techniques. When printing the badges, consider using a high-quality printer that produces clear and crisp images. Additionally, choose a thick and durable cardstock to print the badges on, as this will help prevent them from bending or tearing easily.
Once the badges are printed, laminating them is essential for durability. Use a laminating machine with a thick laminate pouch to ensure that the badges are fully protected. Before laminating, make sure to trim any excess paper around the edges of the badges to ensure a clean and professional finish. By following these printing and laminating techniques,you can create ID badges that are not only durable but also visually appealing.
| High-quality printer | Produces clear images |
| Thick cardstock | Prevents bending or tearing |
| Laminating machine | thick laminate pouch for protection |
| Trimming | Clean and professional finish |
Accessories and Attachments for ID Badge Display
Creating ID badges can be a fun and creative process that allows you to customize your identification in a unique way. To start, you will need the right accessories and attachments to display your ID badge proudly. Some essential items include:
- Badge holders: Keep your ID badge protected and easily visible with a clear plastic badge holder.
- Lanyards: Choose a lanyard in a color or style that suits your personality to wear your ID badge comfortably around your neck.
- Retractable badge reels: Attach your ID badge to a retractable reel for easy access when swiping or scanning.
- Badge clips: Secure your ID badge to your clothing with a sturdy badge clip.
Along with these basic accessories, you can also add some extra flair to your ID badge display with decorative items such as:
- Custom badge reels: Personalize your badge reel with your name or favorite design for a one-of-a-kind look.
- Badge stickers: Add some fun stickers or decals to your ID badge to show off your creativity.
- Badge holders with bling: Make a statement with a rhinestone or glitter badge holder that sparkles and shines.
- Badge charms: Attach a cute charm to your ID badge for a touch of whimsy.
Q&A
Q: What materials do I need to make an ID badge?
A: To make an ID badge, you will need a plastic card holder, a lanyard, a plastic ID card, a printer, and ID card software.Q: How do I design the ID badge?
A: You can design the ID badge using ID card software, which allows you to add text, images, and logos to create a customized look.
Q: How do I print the ID badge?
A: Once you have designed the ID badge, you can print it using a printer that is compatible with the ID card software.
Q: How do I assemble the ID badge?
A: after printing the ID badge, simply insert it into the plastic card holder and attach a lanyard for easy wearing.
Q: Are there any tips for making professional-looking ID badges?
A: To ensure your ID badges look professional, choose high-quality materials, use a clean and simple design, and double-check for any errors before printing.
To Wrap It Up
as you can see, creating your own ID badges is a fun and easy way to add a personal touch to your association or event. Whether you’re looking to boost security, promote branding, or just liven up your team’s look, making custom ID badges is a fantastic solution.Remember, the possibilities are endless when it comes to design, so don’t be afraid to get creative and have fun with it. And most importantly, make sure to follow all safety guidelines and ensure your badges are secure and functional.
So why wait? Start crafting your own unique ID badges today and watch as your team stands out from the crowd.happy badging!