Hey there, crafty friends! Looking to add a personalized touch to your fridge or spice up your kitchen decor? Look no further – in this article, we’ll show you how to make your very own fridge magnets using clay. It’s a fun and easy DIY project that will surely brighten up your fridge and make a statement in your home. So grab your clay and let’s get crafting!
Gather Your Supplies for a Fun DIY Project
To create some adorable fridge magnets with clay, you’ll need to . Here’s what you’ll need:
- Modeling clay in various colors
- Rolling pin
- Cookie cutters in diffrent shapes
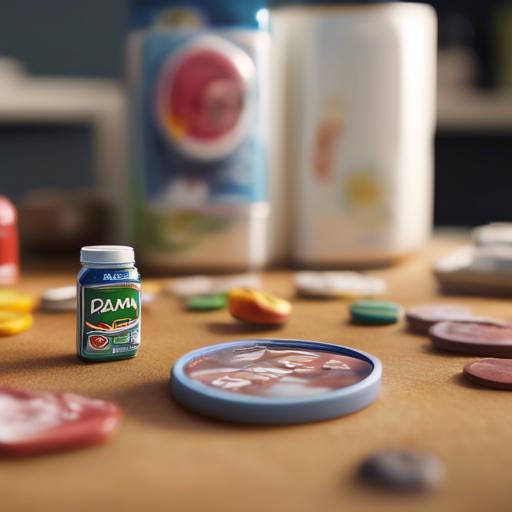
- Magnets
- Acrylic paint
- paintbrushes
- hot glue gun
Once you have all your supplies ready, it’s time to get creative! Start by rolling out your clay to your desired thickness and use the cookie cutters to cut out different shapes. After letting the clay dry and harden, it’s time to paint your magnets with bold and vibrant colors. Once the paint has dried, use a hot glue gun to attach the magnets to the back of your clay shapes.Now you have some unique and colorful fridge magnets to brighten up your kitchen!
Choose the Right Type of Clay for Your Fridge Magnets
Choosing the right type of clay for your fridge magnets is essential to ensure a triumphant and long-lasting project. When selecting the clay for your magnets, consider the following options:
Polymer clay:
- Easy to work with and versatile
- Comes in a wide range of colors
- Requires baking to harden
Air-dry clay:
- No baking required, simply let it air dry
- Available in different textures and finishes
- Can be painted after drying
Get Creative with Shaping and Decorating your Magnets
To , consider using clay to make unique and personalized designs for your fridge. Clay is a versatile material that allows you to mold it into any shape you desire, making it perfect for creating one-of-a-kind magnets. Here’s how you can make fridge magnets with clay:
Materials Needed:
- Clay (in various colors)
- Rolling pin
- Cookie cutters or molds
- Paints or markers
- Paintbrushes
- Magnets
- Super glue
Instructions:
- Roll out the clay to your desired thickness using a rolling pin.
- Use cookie cutters or molds to cut out shapes from the clay.
- Let the clay shapes dry wholly.
- Once dry, decorate the clay shapes with paints or markers.
- Attach a magnet to the back of each shape using super glue.
- Let the magnets dry completely before using them on your fridge.
By following these simple steps, you can create beautiful and customized fridge magnets that will add a personal touch to your kitchen decor. Let your imagination run wild and experiment with different shapes, colors, and designs to make your magnets truly unique. Have fun crafting and decorating with clay to bring some creativity to your fridge magnets!
Tips for Curing and Sealing Your Clay Magnets
To ensure that your clay magnets are long-lasting and durable, it is essential to properly cure and seal them. Follow these tips to create beautiful and functional fridge magnets that will stand the test of time:
Curing Tips:
– Bake your clay magnets in the oven according to the manufacturer’s instructions.- Use an oven thermometer to ensure that the temperature is accurate.
– Allow the magnets to cool completely before handling them.
Sealing Tips:
– Apply a thin layer of clear acrylic sealer to the surface of the magnets.
– Let the sealer dry completely before using the magnets.
– Repeat the sealing process for added protection against wear and tear.
| Tip: | Use a satin finish sealer for a more professional look. |
Q&A
Q: Can I use any type of clay to make fridge magnets?
A: You can use any type of clay for this project, but air-dry clay is recommended for beginners as it doesn’t require baking.
Q: how long does it take for the clay to dry before I can paint it?
A: The drying time can vary depending on the thickness of the clay, but it usually takes 24-48 hours for air-dry clay to completely dry.
Q: What kind of paint should I use on the clay magnets?
A: Acrylic paint works best on clay magnets as it adheres well to the surface and comes in a variety of colors.
Q: How can I attach a magnet to the back of the clay piece?
A: You can use strong adhesive magnets or hot glue to attach a magnet to the back of the clay piece. Make sure to let it dry completely before placing it on the fridge.
Q: Can I add embellishments to my clay magnets?
A: Yes, you can get creative and add embellishments like glitter, sequins, or beads to your clay magnets before they dry for a personalized touch.
Q: Are there any special tools I need to make clay magnets?
A: You will need some basic tools like a rolling pin,cookie cutters,and a knife for cutting shapes out of the clay. You can also use stamps or textured objects to create designs on the clay surface.
Q: Can I make clay magnets with kids?
A: Absolutely! Making clay magnets can be a fun and creative activity for kids. Just make sure to supervise them when using sharp tools and the oven (if baking the clay).
In Summary
I hope you enjoyed this tutorial on how to make fridge magnets with clay! it’s such a fun and creative way to add a personal touch to your kitchen decor. Remember,the possibilities are endless when it comes to shapes,colors,and designs,so don’t be afraid to let your imagination run wild. Give it a try and share your creations with us, we’d love to see them! Happy crafting!

