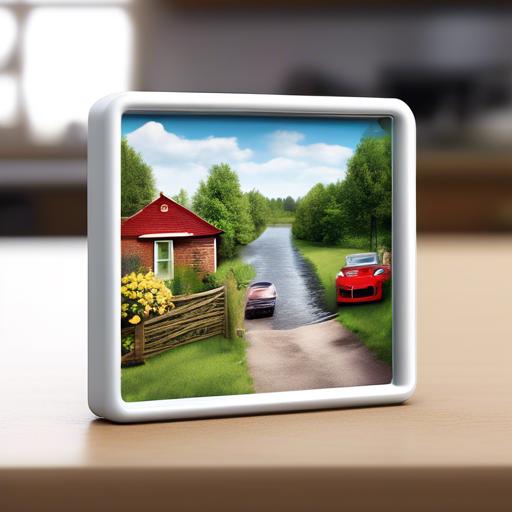
Hey there, DIY enthusiasts! Are you looking for a fun and creative project to spruce up your fridge? Look no further! In this blog post, we’ll show you how to make your very own fridge magnet photo frame.It’s a simple and personalized way to display your favorite memories right on your fridge. So grab your supplies and let’s get crafting!
Gather your materials
To make your own fridge magnet photo frame, you’ll need a few materials to get started. First, gather a selection of your favorite photos that you want to display. Make sure they are printed at the size you want for your frame. Next, you will need some magnetic tape or magnetic sheets, which can be easily found at your local craft store or online. This will be used to attach your frame to the fridge.Additionally, you’ll need a sturdy cardboard base to serve as the backing for your frame. You can use colored or patterned cardstock to add a fun touch to your project. Lastly, gather some scissors, glue, and embellishments like stickers or washi tape to add some personality to your photo frame. With these materials in hand, you’ll be ready to start creating your own custom fridge magnet photo frame in no time!
Designing your photo frame
To create your own fridge magnet photo frame, start by gathering all the materials you will need. This includes a small wooden frame, a magnet strip, acrylic paint, paintbrushes, and a small photo to fit inside the frame.Once you have everything ready, follow these simple steps to design your unique photo frame:
- Paint the wooden frame: Use acrylic paint to add your desired color to the wooden frame. You can get creative with patterns or designs to make it stand out on your fridge.
- Attach the magnet: once the paint has dried, attach the magnet strip to the back of the frame using strong adhesive. This will allow you to easily display your photo frame on any metal surface.
Incorporate personal touches to make your fridge magnet photo frame special, such as adding glitter, stickers, or even tiny embellishments to make it truly unique. With just a few simple steps, you can design a one-of-a-kind photo frame that will brighten up your kitchen and showcase your favorite memories.
Assembling your fridge magnet photo frame
To assemble your fridge magnet photo frame, first gather all materials needed: a blank magnetic photo frame, printed photos, scissors, and any decorations you want to add. Carefully cut out the photos to fit the frame using scissors, ensuring they are the right size and shape.Next, insert the photos into the frame, making sure they are centered and secure. Add any decorations such as stickers or washi tape to personalize your frame. Once everything is in place, attach the frame to your refrigerator or any magnetic surface. Now you have a stunning and unique photo display for your kitchen or office!
Personalizing your creation
To personalize your creation and make a unique fridge magnet photo frame, you can start by gathering all the necessary materials. You will need a plain fridge magnet, a small photo frame, decorative paper, glue, scissors, and any other embellishments you want to add to your design.
Next,follow these simple steps to make your custom fridge magnet photo frame:
– Remove the back of the photo frame and trace the shape onto the decorative paper.
– Cut out the paper and glue it to the front of the photo frame.
– Insert your favorite photo into the frame and secure the back in place.
- Glue the frame onto the fridge magnet and let it dry before attaching it to your refrigerator.
By following these steps, you can easily create a personalized fridge magnet photo frame that adds a special touch to your kitchen decor. Personalize it with your favorite colors, patterns, and decorations to make it truly unique.
Q&A
Q: How can I make my own fridge magnet photo frame?
A: Making your own fridge magnet photo frame is a fun and easy DIY project that can add a personal touch to your kitchen decor.
Q: What materials do I need to make a fridge magnet photo frame?
A: To make a fridge magnet photo frame, you will need a small magnetic sheet, a printed photo, scissors, glue or double-sided tape, and any decorative embellishments you’d like to add.
Q: How do I start making a fridge magnet photo frame?
A: First,cut out your photo to fit the size of the magnetic sheet. Then,glue or tape the photo onto the magnetic sheet.
Q: Can I add any personal touches to my fridge magnet photo frame?
A: Absolutely! You can add stickers, washi tape, or any other decorative elements to make your fridge magnet photo frame uniquely yours.
Q: How do I attach the fridge magnet photo frame to my refrigerator?
A: Simply place the magnetic sheet with the photo on it onto your refrigerator and voila! You now have a personalized fridge magnet photo frame.
Q: Is this a kid-pleasant activity?
A: Yes, this can be a fun and safe DIY project for children, but adult supervision might potentially be needed when using scissors and glue.
Q: Where can I display my homemade fridge magnet photo frame?
A: You can display your homemade fridge magnet photo frame on your refrigerator or any other magnetic surface in your home. It also makes a great gift for friends and family!
Q: Are there any other creative ways to use fridge magnet photo frames?
A: Yes! You can also use the frames to hold notes, to-do lists, or even recipes on your refrigerator. The possibilities are endless!
In Conclusion
We hope this tutorial has inspired you to get creative and make your own fridge magnet photo frame! It’s a fun and easy way to showcase your favorite memories and add a personal touch to your kitchen decor. Remember to have fun experimenting with different materials and styles to make your fridge magnet photo frame uniquely yours. Thanks for reading, and happy crafting!

