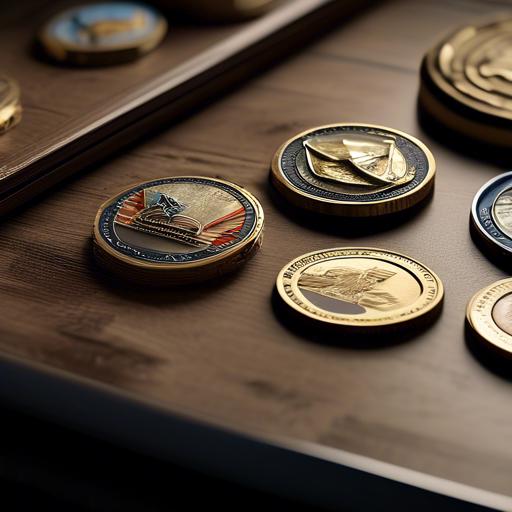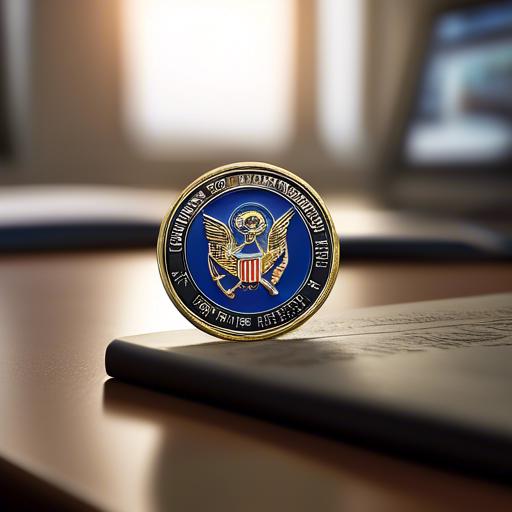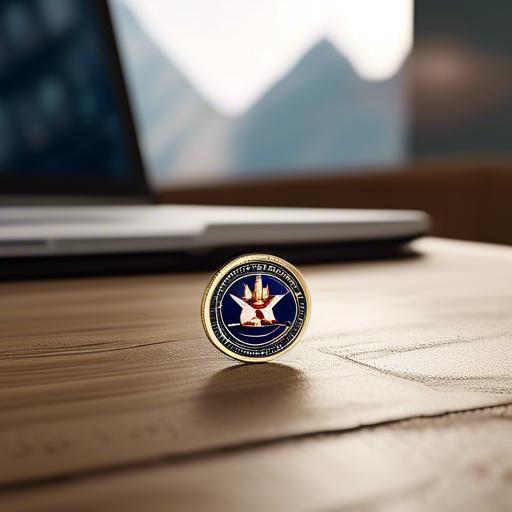
Challenge coins have a rich history dating back to World War I, serving as a symbol of camaraderie and accomplishment within military units and organizations. For those with a collection of these cherished coins, finding an effective and visually appealing way to display them can be a challenge in itself. In this article, we will explore a step-by-step guide on how to craft your own challenge coin holder, allowing you to proudly showcase your collection in style.
Materials and Tools Needed for Making Challenge Coin Holder
In order to create your own challenge coin holder,you will need a few materials and tools to get started. Here is a list of items you will need:
- Wooden plank: Choose a sturdy wooden plank that is the appropriate size for your desired coin holder.
- Saw: A saw will be necessary to cut the wooden plank to the desired dimensions.
- Sandpaper: Sandpaper will help smooth out any rough edges on the wooden plank.
- Wood stain or paint: If you want to add color to your coin holder, you will need wood stain or paint.
- Brushes: Brushes will be needed to apply the wood stain or paint to the wooden plank.
If you want to add some decorative elements to your challenge coin holder, you may also need the following items:
- Drill: A drill will be necessary if you want to add hooks or other hanging mechanisms to your coin holder.
- Decorative hooks or knobs: These can be attached to the wooden plank to hang your challenge coins from.
- Stencil or vinyl stickers: If you want to add designs or text to your coin holder, you may need stencils or vinyl stickers.
- Glue or adhesive: This will be necessary to attach any decorative elements to the wooden plank.
Step-by-Step Guide to Constructing a DIY Challenge Coin Display
Creating a challenge coin display is a great way to showcase your collection in a stylish and organized manner. Follow this step-by-step guide to construct your very own DIY Challenge Coin Display:
- Wooden board or plaque
- Wood stain or paint
- Wood glue
- Sandpaper
- Hooks or pegs
- Sand the wooden board to smooth out any rough edges.
- Stain or paint the board in your desired color and let it dry fully.
- Arrange the hooks or pegs evenly on the board to hang the challenge coins.
- Secure the hooks or pegs in place with wood glue, and allow it to dry for several hours.
- Once the display is fully assembled, hang your challenge coins on the hooks or pegs to showcase your collection.
Design Ideas and Customization Options for Your Challenge Coin Holder
When it comes to designing your challenge coin holder, the possibilities are endless. You can customize your holder to reflect your personality, interests, or the theme of your coin collection. Some design ideas and customization options to consider include:
- Personalization: Add your name, initials, or a special message to make your challenge coin holder unique to you.
- Theme: Choose a design that complements the theme of your challenge coins, whether it’s military, sports, or a hobby.
- Materials: Select from a variety of materials such as wood, metal, acrylic, or glass to create the perfect look for your display.
| design Ideas | Customization Options |
|---|---|
| Custom engraving | Personalization |
| Shadow box display | Theme |
| Stackable design | Materials |
With these design ideas and customization options, you can create a challenge coin holder that not only showcases your collection but also adds a personal touch to your space. Get creative and have fun designing the perfect holder for your prized possessions.
Tips for Properly Displaying and Maintaining Your Challenge Coin Collection
To properly display and maintain your challenge coin collection, you can create a custom challenge coin holder using simple materials and a bit of creativity. One option is to craft a wooden display case with individual slots for each coin, allowing you to showcase your collection while keeping each coin protected. Another idea is to use a shadow box frame with a velvet backing, where you can arrange your challenge coins in a visually appealing way.
Additionally, consider incorporating LED lighting into your challenge coin display for a more dramatic effect. This can help highlight your collection and make it stand out in any room. To prevent dust and dirt from accumulating on your coins, regularly dust the display case or shadow box, and avoid handling the coins too frequently. with these tips, you can create a stunning and well-maintained display for your challenge coin collection.
| Craft a wooden display case | Use a shadow box frame | Incorporate LED lighting | individual slots for each coin | Versatile for arranging coins | Highlight your collection |
|---|
Q&A
Q: What materials are needed to make a challenge coin holder?
A: To make a challenge coin holder, you will need wood, a saw, sandpaper, wood stain or paint, a drill, screws, and a ruler.
Q: How tough is it to make a challenge coin holder?
A: Making a challenge coin holder can be a medium level of difficulty, depending on your woodworking skills. It involves measuring, cutting, sanding, painting or staining, drilling, and assembling.
Q: Can the size of the challenge coin holder be customized?
A: Yes, the size of the challenge coin holder can be customized to fit the specific dimensions of your challenge coins. You can adjust the measurements of the wood pieces accordingly.
Q: Are there any specific designs or patterns that can be added to the challenge coin holder?
A: The design of the challenge coin holder is up to your creativity. You can add personal touches such as engraving, carving, or painting designs onto the wood to showcase your unique style.
Q: How long does it take to make a challenge coin holder?
A: The amount of time it takes to make a challenge coin holder will vary depending on your woodworking skills and the complexity of the design. On average, it can take a few hours to a day to complete the project.
In Conclusion
Thank you for reading our guide on how to create your own challenge coin holder. We hope that this article has provided you with the inspiration and instructions needed to showcase your prized possessions in a stylish and organized manner. For more DIY projects and craft ideas, be sure to check out our website for more helpful tips and tutorials. Stay tuned for more insightful articles from our team of experts. Until next time,happy crafting!