Have you ever wanted to make your own custom badges for a special event or just for fun? It’s easier than you think! In this article, we’ll walk you through the step-by-step process of how to make badges from start to finish. Get ready to unleash your creativity and show off your personal style with homemade badges that are sure to make a statement. let’s dive in and get started on this exciting DIY project!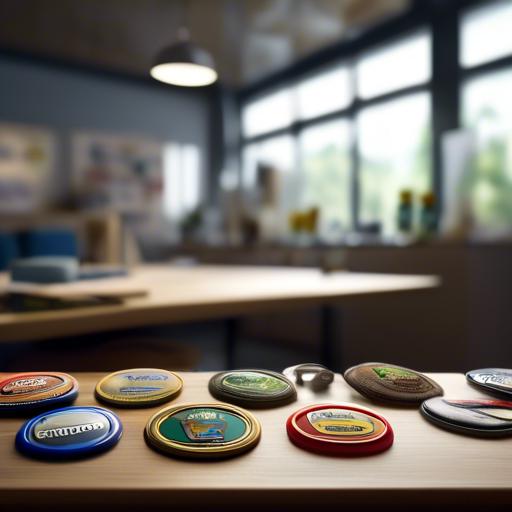
Choosing the Right Badge Making Materials
When it comes to making badges, choosing the right materials is essential to ensure a high-quality finished product. Here are some key considerations to keep in mind:
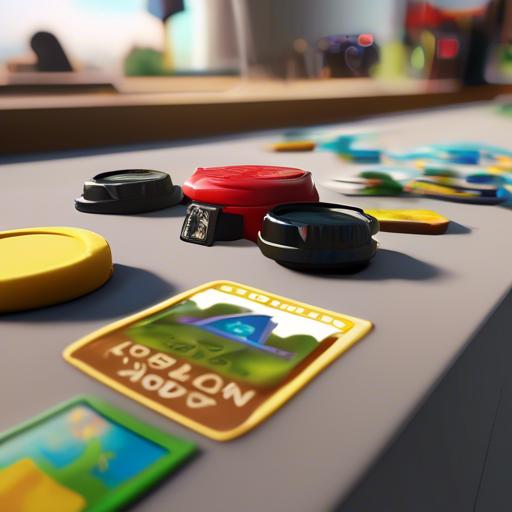
- Button Size: Determine the size of the badge you want to create before selecting your materials.Make sure your button maker is compatible with the size you have chosen.
- Badge Backs: Choose between pin-back or magnet-back badge backs based on how you plan to use your badges. Pin-backs are great for wearing on clothing,while magnet-backs are ideal for use on metal surfaces.
- Badge Paper: Select a sturdy paper or photo paper for your badge designs to ensure durability and vibrant colors.Make sure the paper is compatible with your printer.
By carefully selecting the right materials for your badge making project, you can create beautifully crafted badges that are sure to impress. Experiment with different combinations of materials to find the perfect match for your unique designs and creations.
Designing Engaging and Eye-Catching Badge Artwork
Creating engaging and eye-catching badge artwork is essential for making a lasting impression. To start,brainstorm ideas for your badge design that align with the purpose and theme of the event or organization. Consider incorporating elements such as colors, logos, and symbols that represent the company or cause.
Next, focus on the visual aspects of the badge artwork. Use bold and vibrant colors to make the design pop. experiment with different fonts and typography to add personality and flair. Incorporate unique shapes and patterns to make the badge memorable. Remember, simplicity is key when it comes to badge design – avoid clutter and keep the design clean and easy to read. Lastly, don’t forget to test your design on different backgrounds to ensure it looks appealing in various scenarios. With these tips in mind, you’ll be on your way to creating stunning badge artwork that captures attention and leaves a lasting impact.
Step-by-Step Guide to Creating Badges Using a Badge Maker
To begin creating your own badges using a badge maker, start by gathering all the necessary materials.You will need a badge maker machine, badge components (including pins, magnets, or clips), badge design templates, badge paper, and a computer with design software. Once you have everything ready, follow these steps to make your own custom badges:
Start by selecting a badge design template or creating your own design using design software. Make sure the design is the right size for your badge maker machine. Once you have the design ready, print it onto badge paper. Next, assemble the badge components by placing the printed design onto the badge top, then adding the clear plastic cover on top. use the badge maker machine to press the components together and create your finished badge. With these simple steps, you can easily create customized badges for any occasion, event, or purpose. Experiment with different designs, colors, and styles to make badges that truly stand out and make a statement. Let your creativity shine through as you explore the endless possibilities of badge making.
Tips and Tricks for Finishing and Securing Badges
One key tip for finishing and securing badges is to use badge reels. These retractable reels allow you to easily display your badge while keeping it securely attached to your clothing. They also make it convenient to swipe your badge for access without having to remove it each time.
Another useful trick is to use badge holders. These clear plastic sleeves not only protect your badge from damage but also make it easy to switch out badges as needed. You can find badge holders in various sizes and styles to fit your specific badge requirements. Additionally, consider using badge clips or magnets to securely attach your badge to your clothing without causing any damage. These options provide a reliable way to display your badge without the need for adhesive.
Q&A
Q: What do you need to make your own badges at home?
A: All you need is a badge making machine, badge components (such as the front and back pieces), and a design for your badge.Q: Where can I find a badge making machine?
A: Badge making machines can be found online or at craft stores. They come in various sizes and styles, so make sure to choose one that best suits your needs.
Q: Can I use any type of design for my badge?
A: Of course! You can use your own artwork, photos, or even text to create a custom badge that suits your style.
Q: How do I assemble the badge components?
A: Simply place your design between the front and back pieces of the badge component, and then use the badge making machine to press them together and secure the design in place.
Q: Are there any tips for making badges?
A: Make sure to use high-quality paper or materials for your design, as this will ensure a clear and crisp image on your badge. Additionally, make sure to follow the instructions that come with your badge making machine for the best results.
In Conclusion
As we wrap up this guide on how to make badges, I hope you feel inspired to get creative and start designing your own custom badges. Whether you’re making them for a special event, as a gift for a friend, or just for fun, the possibilities are endless. Remember, the key to making great badges is to let your inventiveness run wild and have fun with the process. So go ahead, grab your materials and start creating your next masterpiece. Happy badge-making!