In today’s DIY culture, creating functional and decorative pieces for the home has become increasingly popular. One useful and aesthetically pleasing addition to any living space is a wall-mounted bottle opener. This article will provide step-by-step instructions on how to craft your own wall-mounted bottle opener, adding both utility and charm to your home decor. Join us as we explore the materials needed and the simple yet effective techniques to bring this practical project to life.
Materials needed for making a wall-mounted bottle opener
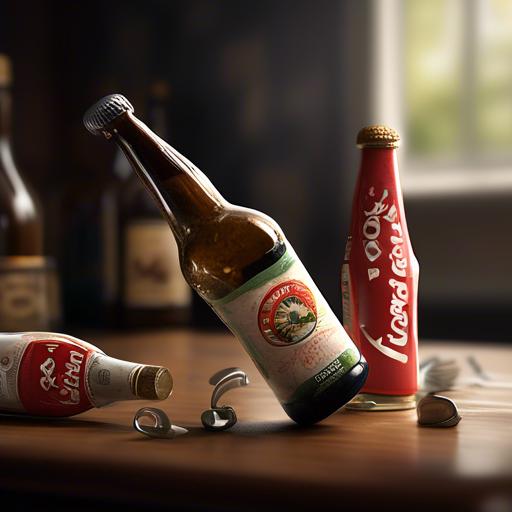
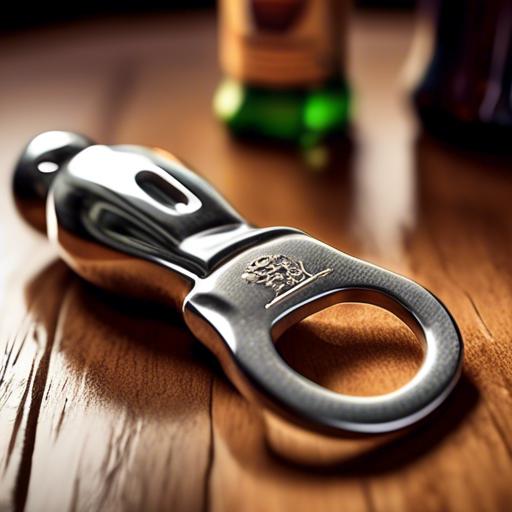
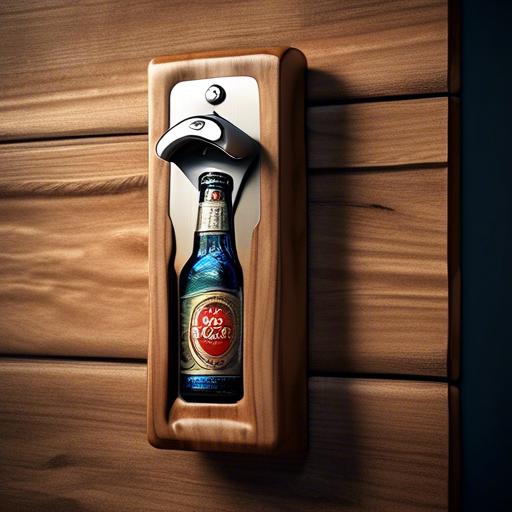
To make a wall-mounted bottle opener, you will need a few key materials to get started. First and foremost, you will need a sturdy wooden board to serve as the base of the bottle opener. Make sure to choose a quality piece of wood that is both durable and visually appealing. Additionally, you will need a metal bottle opener mechanism, which can be easily found at your local hardware store. This will be the functional component that allows you to open your favorite beverages with ease.
Next, you will need screws to secure the bottle opener mechanism to the wooden board. Be sure to choose screws that are the appropriate length to securely attach the mechanism without protruding through the board. Additionally, you may want to consider adding a catch bin for the bottle caps. This can be a simple metal bucket or container that will collect the caps as they are removed. lastly, don’t forget to gather any paint or stain if you wish to customize the look of your wall-mounted bottle opener. With these materials in hand, you’ll be well on your way to creating a practical and stylish addition to your home bar or kitchen.
Step-by-step instructions on how to assemble the bottle opener
Start by gathering all the necessary materials for this DIY project.You will need a wooden board, a metal bottle opener, screws, a screwdriver, and a drill. Make sure the wooden board is thick and sturdy enough to support the weight of the bottle opener and the bottles.
Next, measure and mark the placement for the bottle opener on the wooden board. Use the drill to create pilot holes for the screws. Attach the bottle opener to the board using the screws and screwdriver, making sure it is securely in place. Once the bottle opener is attached, mount the wooden board onto the wall using nails or screws.
Tips for mounting the bottle opener securely
When mounting a bottle opener securely to the wall, it is crucial to follow these tips for a accomplished installation:
- Choose the right location: Select a sturdy and stable location on the wall where you want to mount the bottle opener. Make sure it is easily accessible and at a agreeable height for users.
- Use the proper tools: Ensure you have the necessary tools such as a drill, screws, and a screwdriver to secure the bottle opener to the wall securely.
Additionally, consider using wall anchors or a mounting plate for added support and stability. Proper installation will ensure that your wall-mounted bottle opener is securely in place and ready for use.
Decorating and personalizing your wall-mounted bottle opener
To add a personal touch to your wall-mounted bottle opener,consider decorating it with unique designs or customizing it with your favorite colors. One idea is to use acrylic paints to create a fun and colorful pattern on the wooden base of the bottle opener. You can also stencil a design or quote onto the surface for a more polished look. Another option is to decoupage the opener with decorative paper or fabric to add texture and visual interest.For a more rustic look, you can distress the wood using sandpaper and stain to give it an aged appearance. You can also attach metal accents such as nail heads or corner brackets to add an industrial flair to your bottle opener. Don’t forget to personalize it further by adding initials or a family name using vinyl decals or metal lettering for a custom finish. With these creative ideas, your wall-mounted bottle opener will not only be functional but also a stylish addition to your home decor.
Q&A
Q: What materials do I need to make a wall-mounted bottle opener?
A: To make a wall-mounted bottle opener, you will need a wooden board, a metal bottle opener, screws, a drill, and a screwdriver.
Q: How do I properly mount the bottle opener on the wall?
A: Start by marking the placement of the bottle opener on the wooden board. Next, drill pilot holes for the screws and attach the bottle opener to the board using the screws. attach the wooden board to the wall using appropriate mounting hardware.
Q: Are there any design considerations to take into account when making a wall-mounted bottle opener?
A: Consider the size and weight of the bottles you will be opening, and also the design aesthetic you want to achieve. Make sure the bottle opener is securely mounted to the wall to prevent accidents.Q: Can I customize the wall-mounted bottle opener?
A: Absolutely! You can stain or paint the wooden board, choose a decorative bottle opener, or even add a catch bin for bottle caps. Get creative and make it your own!
Q: What are the benefits of having a wall-mounted bottle opener?
A: A wall-mounted bottle opener provides a convenient and stylish way to open bottles, keeps the area tidy by collecting bottle caps, and adds a fun decorative element to your space. It’s a practical and enjoyable DIY project to undertake.
In Conclusion
learning how to make a wall-mounted bottle opener is a rewarding DIY project that not only adds convenience to your space but also allows you to showcase your creativity and craftsmanship.By following the step-by-step guide outlined in this article, you can easily create a functional and stylish bottle opener that is sure to impress your friends and family. We hope that this tutorial has provided you with the inspiration and guidance needed to embark on this exciting project. Remember, practice makes perfect, so don’t be afraid to experiment and customize your design to suit your personal preferences. Happy crafting!