Hey there crafty friends! Are you looking for a fun and easy DIY project to add a personalized touch to your refrigerator? Look no further! In this blog post, we’ll show you step-by-step how to make your own card fridge magnets at home. Whether you want to display your favorite photos, quotes, or artwork, this simple craft is sure to bring some charm to your kitchen decor. So grab your supplies and let’s get crafting!
Gather Your Supplies for a Fun DIY Project
To create a card fridge magnet at home, you’ll need a few basic supplies to get started. Here’s a list of items you’ll need to gather before you begin:
- Blank cards or cardstock
- Scissors
- Glue or adhesive tape
- Magnet strips or sheets
- Markers, colored pencils, or stickers for decoration
Once you have all your supplies ready, it’s time to start making your card fridge magnet. Cut out a design or shape from the blank card or cardstock, decorate it with markers or stickers, and then attach the magnet strip or sheet to the back of the card using glue or adhesive tape. Voila! You now have a personalized and unique fridge magnet to display your favorite cards or photos. Make a few more to give as gifts to friends and family – they’ll love the handmade touch!
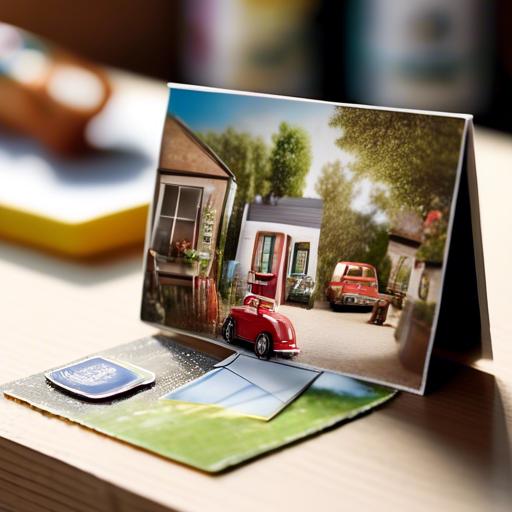
Designing Your Custom Card Magnet
When , there are a few key elements to keep in mind to ensure a accomplished and stylish result. One of the first steps is to choose the size and shape of your magnet. Whether you prefer a standard rectangular shape or something more unique like a heart or circle, the choice is yours. Next, select the design or image you want to feature on your magnet. This could be a family photo, favorite quote, or an original artwork. Be sure to use high-quality images to ensure a crisp and clear final product.After choosing your size, shape, and design, it’s time to consider the finishing touches for your card magnet.You can add text, graphics, or even a border to enhance the overall look. Experiment with different fonts and colors to create a personalized and eye-catching magnet.Remember to keep the design simple and impactful to make a lasting impression. Once you are satisfied with your design, it’s time to print it out on a magnetic sheet and cut it to size. Voila! You now have a custom card magnet to display on your fridge or give as a thoughtful gift to a loved one.
Assembling Your Magnet with Precision
To assemble your magnet with precision, start by gathering all the necessary materials. You will need a flat metal washer, a small round magnet, a piece of decorative paper or cardstock, a pair of scissors, and some strong glue.
Next, cut the decorative paper or cardstock to the same size as the metal washer. Apply a small amount of glue to the back of the paper and carefully place it onto the metal washer.Press down firmly to ensure it adheres properly. Once the glue has dried, affix the magnet to the back of the washer using more glue. Allow the magnet to dry completely before using it to display your favorite photos or notes on the fridge.
Personalize Your Space with Homemade Magnets
To create your own card fridge magnet at home, all you need are a few simple supplies and a bit of creativity. Start by gathering some blank cards, decorative paper, magnets, glue, and scissors. Cut out a small square or rectangle from the decorative paper to serve as the background for your magnet.
next, glue the paper onto the blank card and allow it to dry. Once the glue has set, attach a small magnet to the back of the card using strong adhesive.Voila! You now have a personalized fridge magnet that can add a touch of flair to your kitchen decor. Get creative with different colors, patterns, and shapes to make a set of unique magnets that reflect your personality and style. With just a few simple steps, you can easily transform your space with homemade magnets that are as functional as they are stylish.
Q&A
Q: How can I make a card fridge magnet at home?
A: Making a card fridge magnet at home is a fun and easy project that anyone can do! Just follow these simple steps to create your own personalized magnet.
Q: what materials do I need to make a card fridge magnet?
A: To make a card fridge magnet, you will need a blank card, scissors, glue, a magnet strip, and any decorations or embellishments you want to add to your magnet.
Q: How do I make a card fridge magnet?
A: First, cut out a shape from the blank card that you want to turn into a magnet. It could be a heart, a star, or any other shape you like. Next, decorate the shape with markers, stickers, or whatever you have on hand. Once you’re happy with the design, attach a magnet strip to the back of the card using glue. Allow the glue to dry, and your card fridge magnet is ready to use!
Q: Can I personalize my card fridge magnet?
A: Absolutely! You can personalize your card fridge magnet with any design, message, or image you want.Get creative and make it uniquely yours!
Q: How can I display my card fridge magnet?
A: Simply stick your card fridge magnet on any metal surface, such as a refrigerator, filing cabinet, or magnetic board. It’s a great way to add a personal touch to your space!
Q: Are there any tips for making a card fridge magnet?
A: When making a card fridge magnet, be sure to use a strong magnet strip so that it stays securely in place. You can also laminate the card before attaching the magnet for extra durability. Have fun experimenting with different shapes and designs to create a collection of unique magnets for your fridge!
Wrapping Up
We hope you enjoyed learning how to make your own card fridge magnet at home! With just a few simple materials and a little creativity, you can create a unique and personalized magnet to showcase on your fridge. It’s a fun and easy DIY project that makes for a great gift or a lovely addition to your own home decor. So gather your supplies, get crafting, and have fun making your very own card fridge magnet! Thanks for reading, and happy crafting!

