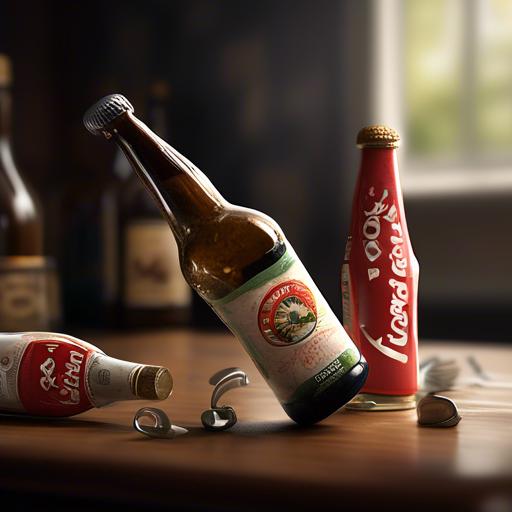
have you ever found yourself in need of a bottle opener, only to realize you don’t have one on hand? Fear not, as we have the solution for you! In this article, we will guide you through the process of making your very own bottle opener. From selecting the right materials to mastering the necessary techniques,you’ll be popping open bottles in no time. So grab your tools and let’s get started on this DIY adventure!
introduction
To make your own bottle opener,you will need a few simple materials and tools. First, gather the following items:
– A piece of hardwood (such as oak or maple) for the handle
– A metal bottle cap catcher
– Epoxy glue
– screws
– Sandpaper
– Clear polyurethane sealant
Start by cutting the hardwood to the desired length and shape for the handle. Sand down any rough edges to ensure a smooth finish.next, attach the metal bottle cap catcher to the handle using screws and epoxy glue. Once the glue has dried, apply a coat of clear polyurethane sealant to protect the wood and metal from moisture. Your handmade bottle opener is now ready to use!
Materials and Tools Needed
For this DIY project on making a bottle opener, you will need a few materials and tools to get started. Make sure you have the following items ready before beginning the project:
- Wooden plank or board: Select a sturdy wooden plank or board that is at least 1 inch thick. This will be the base of your bottle opener.
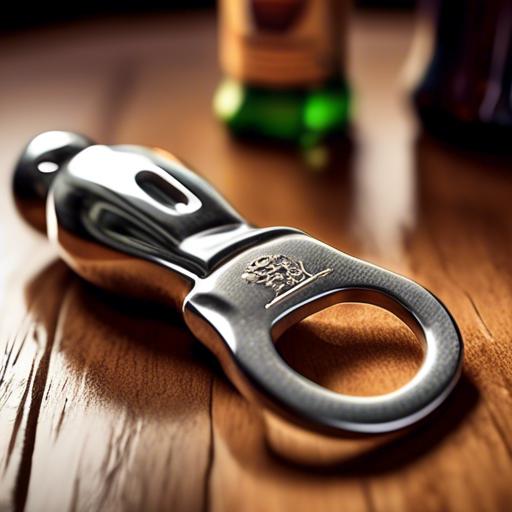
- Metal bottle opener: Look for a durable metal bottle opener that can be securely attached to the wooden base.
- Screws and screwdriver: have screws and a screwdriver on hand to attach the bottle opener to the wooden base.
- Sandpaper: use sandpaper to smooth out any rough edges on the wooden base before starting the project.
Along with the materials listed above, you will also need a few tools to help you assemble the bottle opener. Make sure you have the following tools ready for use:
- Drill: A drill will be needed to make holes in the wooden base for attaching the bottle opener securely.
- Saw: Use a saw to cut the wooden plank or board to the desired size for your bottle opener.
- Measuring tape: A measuring tape will come in handy for ensuring precise measurements and placements during the project.
- Paint or wood stain (optional): If desired, you can use paint or wood stain to add a decorative touch to your homemade bottle opener.
Step-by-Step Instructions
to start making your own bottle opener, gather the following materials: a piece of wood, a metal bottle cap, a screw, a drill, sandpaper, and a hammer. begin by measuring and cutting the wood to your desired length using a saw. Sand down the edges to ensure a smooth finish.
Next, drill a hole in the center of the wood piece large enough to fit the screw. Insert the screw into the hole, leaving enough length sticking out to securely attach the bottle cap. Use the hammer to carefully attach the bottle cap to the screw, making sure it is firmly in place. Congratulations, you now have your very own homemade bottle opener ready for use!
Finishing Touches
To add the to your homemade bottle opener, consider personalizing it with decorative embellishments. You can customize the handle by wrapping it with colorful paracord or leather for a cozy grip.Another option is to attach decorative charms or beads to the opener for a unique and stylish touch.
Additionally,you can add a protective coating to the metal parts of the bottle opener to prevent rust and corrosion. Consider applying a coat of clear lacquer or enamel to seal the metal and give it a glossy finish. This will not only enhance the appearance of your bottle opener but also increase its durability, ensuring that it lasts for years to come. With these simple , your homemade bottle opener will be both functional and stylish, making it a perfect accessory for any kitchen or bar.
Q&A
Q: What materials are needed to make a DIY bottle opener?
A: To make a homemade bottle opener, you will need a piece of wood, a metal bottle cap catcher, screws, and a metal bottle opener.
Q: how tough is it to make a bottle opener at home?
A: Making a bottle opener at home can be a fun and relatively easy DIY project,especially with the right tools and materials.Q: What are the steps involved in making a bottle opener?
A: The steps involved in making a bottle opener include cutting the wood to the desired size, attaching the metal bottle cap catcher, and screwing in the metal bottle opener.
Q: Are there any safety precautions to keep in mind while making a bottle opener?
A: It is important to be cautious when using power tools and sharp objects while making a bottle opener. Always wear protective gear and follow the instructions carefully.Q: Can different materials be used to make a bottle opener?
A: yes, you can get creative and use choice materials such as recycled items or different types of wood to make a unique bottle opener. Just be sure that the materials are durable and suitable for the job.
Insights and Conclusions
learning how to make your own bottle opener can be a fun and rewarding DIY project. By following the steps outlined in this article and utilizing the necessary tools and materials, you can create a functional and unique bottle opener to use for your favorite beverages. Experiment with different designs and materials to personalize your creation and enhance your craftsmanship skills.We hope this guide has provided you with the knowledge and inspiration to start your own bottle opener project.Happy crafting!