Have you ever wanted to stand out in the virtual world of Roblox with a custom badge that represents your style and personality? Look no further! In this article, we will guide you through the steps of creating your very own badge in Roblox. Get ready to leave your mark and let your creativity shine in the world of online gaming.
Planning your Badge Design
To create a unique and eye-catching badge design in Roblox, it’s significant to start by planning out your design concept. Begin by brainstorming ideas for the theme, colors, and overall style of your badge. Consider the purpose of the badge and who will be earning it, as this can help guide your design choices.
Once you have a solid idea in mind, you can start to sketch out your design on paper or in a digital art program. Experiment with different shapes, symbols, and text to create a visually appealing badge that fits your theme. Don’t be afraid to try out bold colors and interesting patterns to make your badge stand out. Remember, the key to a successful badge design is to keep it simple, yet impactful, so that it is easily recognizable and memorable to users.
choosing the Right Colors and Images
When creating a badge in Roblox, it’s important to carefully choose the right colors and images to make it stand out. Color psychology plays a crucial role in determining how people perceive your badge, so be sure to pick colors that convey the right message.Consider using bold and vibrant colors to grab the player’s attention, or softer pastel tones for a more calming effect.
Images are another essential aspect of designing a badge in Roblox. Make sure to use high-quality graphics that are clear and easy to distinguish. Icons or symbols can also be a great way to communicate the purpose of your badge at a glance. Remember, simplicity is key when it comes to choosing images for your badge – avoid clutter and busy designs that may distract from the main message you want to convey.
Customizing Your Badge Details
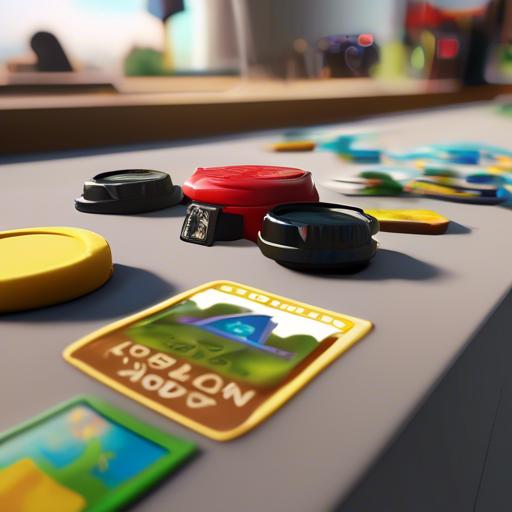
To customize your badge details in roblox, follow these steps to make your badge stand out and unique. First, you’ll want to choose a design that represents your game or group.This can be a logo,icon,or any other image that captures the essence of your brand.Once you have your design ready,you can upload it to Roblox using the Badge details section. Make sure to resize the image to fit the badge dimensions for the best results.
Next, you can add text to your badge to provide more data or context. This could include the name of your game or group, a slogan, or any other message you want to convey. Use bold or italics to make your text stand out.You can also use HTML to format your text in different styles. Experiment with different fonts, colors, and sizes to find the perfect combination for your badge. By , you can create a unique and eye-catching badge that will leave a lasting impression on your players or group members.
Testing and Publishing Your Badge
To successfully create and publish your badge in Roblox, testing is a crucial step to ensure that everything is working as intended. start by wearing the badge yourself to check if the image and description display correctly on your profile. Ask a friend to also wear the badge and confirm that it appears properly for them as well. It’s important to test the badge on different devices and browsers to ensure compatibility.After testing, it’s time to publish your badge for the roblox community to enjoy. go to the Roblox website and navigate to the Create section. Click on the “Badges” tab and select the badge you want to publish. Add a catchy title, interesting description, and eye-catching image to attract players to earn your badge.Make sure to set the permissions and pricing options according to your preferences. Once everything is set, hit the publish button and watch as players start earning and showing off your badge in the virtual world of Roblox.
Q&A
Q: How can I create a badge in Roblox?
A: Creating a badge in Roblox is a simple process that can add an extra layer of customization to your game.to get started, navigate to the ‘Create’ tab on your Roblox account and click on ‘Badges’. From there, you can choose a name and description for your badge, and also upload an image to represent it.
Q: What are some tips for choosing a design for my badge?
A: When choosing a design for your badge, consider the theme of your game and what you want the badge to represent. Whether it’s a logo, symbol, or image related to an achievement, make sure it is visually appealing and stands out to players.
Q: Can I customize the requirements to earn my badge?
A: Yes, you can customize the requirements for players to earn your badge. You can set specific actions or achievements that players need to complete to unlock the badge, such as reaching a certain level, visiting a specific location, or completing a task within the game.
Q: How can I track how many players have earned my badge?
A: To track how many players have earned your badge, you can go to the ‘Configure’ tab on the badge page and view the statistics section. Here, you can see how many players have earned the badge, as well as other information such as when the badge was created and last updated.
Q: Are there any best practices for promoting my badge in Roblox?
A: One of the best ways to promote your badge in Roblox is to incorporate it into your game’s progression and make it a desirable achievement for players to earn. You can also create special events or challenges that reward players with the badge, as well as showcase it in your game’s description or promotional materials.
The Way Forward
creating your own badge in Roblox can be a fun and rewarding experience. Whether you’re a budding game developer looking to add a unique element to your creations or just a player wanting to stand out in the Roblox community, making a badge can help you achieve your goals. Remember to take your time, be creative, and use the tools at your disposal to bring your badge to life. so go ahead, give it a try and let your inventiveness run wild in the world of Roblox!