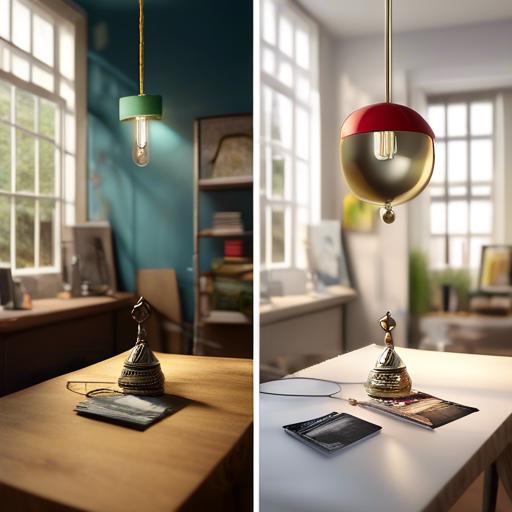
As someone who loves adding a touch of elegance and ambience to their home, hanging pendant lights are a must-have. Whether you’re looking to brighten up your kitchen island or create a cozy reading nook, installing these stylish fixtures is easier than you might think. In this article, we’ll walk you through the step-by-step process of installing hanging pendant lights, so you can elevate your space in no time. Let’s get started!
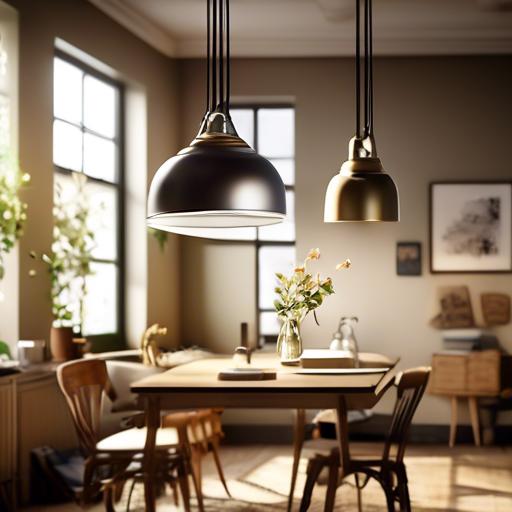
Choosing the Right hanging Pendant Lights for Your Space
When it comes to , there are a few key factors to consider. First and foremost, think about the style and design of the room where you will be installing the lights. Are you going for a modern, minimalist look, or do you prefer a more traditional aesthetic? Once you have a clear idea of the overall vibe you want to create, you can start looking for pendant lights that complement that style.
Another crucial factor to consider is the size of the pendant lights and how many you will need for the space. Take measurements of the area where you plan to install the lights to ensure that they will fit properly. you may also want to think about the height at which you will hang the lights – they should be positioned at a height that provides adequate lighting while still allowing for cozy movement around the room. Wiht these considerations in mind, you can select the perfect hanging pendant lights to enhance the ambiance of your space.
Essential Tools and Materials for installation
To successfully install hanging pendant lights in your home, you will need a few essential tools and materials. These items will help make the installation process smooth and efficient. Here are some must-have tools and materials for hanging pendant lights:
- Screwdriver set – To secure the mounting bracket and attach the wires.
- Wire cutters/strippers – To trim and prepare the electrical wires for connection.
- Drill – For creating holes in the ceiling for mounting the light fixture.
- Ladder – To safely reach the ceiling and install the pendant light fixture.
- Wire nuts – To securely connect the electrical wires together.
In addition to these tools, you will also need the following materials for installation:
- Pendant light fixture – The main component that will provide illumination and style to your space.
- Ceiling mounting bracket – To securely attach the pendant light to the ceiling.
- Electrical tape – To cover exposed wires and ensure a safe connection.
- Ceiling hooks or anchors – For additional support when hanging heavy pendant lights.
Step-by-Step Guide to Installing Hanging Pendant Lights
Installing hanging pendant lights can add a stylish touch to any room in your home. Follow these step-by-step instructions to easily install pendant lights on your own:
Materials Needed:
- Pendant light fixture
- Screwdriver
- Wire stripper
- Wire nuts
- Ceiling electrical box
- Ladder
Step 1: Turn off Power
Before beginning the installation process, make sure to turn off the power to the room where you will be installing the pendant lights. This will ensure your safety throughout the installation process.Step 2: Attach Ceiling fixture
Next, attach the ceiling electrical box to the desired location on the ceiling. Make sure to secure it properly to ensure the pendant light fixture will be stable once installed. Now you are ready to proceed with wiring the pendant light fixture.
common Mistakes to Avoid When Installing Pendant Lights
One common mistake to avoid when installing pendant lights is not measuring the height properly. Make sure to take into account the height of the ceiling and the desired placement of the light fixture. It’s crucial to ensure that the pendant light hangs at the right distance from the ceiling to avoid any obstructions or safety hazards.
Another mistake to steer clear of is not using the appropriate hardware for installation. Be sure to follow the manufacturer’s instructions and use the recommended screws, brackets, and wires. Using incorrect or insufficient hardware can lead to the pendant light falling and causing damage, so it’s essential to double-check everything before proceeding with the installation. Remember, safety first!
Q&A
Q: What tools do I need to install hanging pendant lights?
A: You will need a drill, screws, a screwdriver, wire cutters, and a ladder.
Q: How do I determine the appropriate height to hang pendant lights?
A: The general rule of thumb is to hang the pendant lights 30-36 inches above the surface they are illuminating.
Q: Can I install hanging pendant lights on my own or do I need a professional?
A: Installing hanging pendant lights can be a DIY project,but if you are unfamiliar with electrical work it is always best to consult a professional.Q: Where is the best place to install hanging pendant lights in a room?
A: Hanging pendant lights are typically installed over kitchen islands, dining tables, or in entryways to add a decorative element and provide task lighting.
Q: What are some common mistakes to avoid when installing hanging pendant lights?
A: Some common mistakes include not securing the fixture properly, using incorrect wattage light bulbs, and not shutting off the power supply before starting the installation process.
Insights and Conclusions
As we conclude our guide on how to install hanging pendant lights, I hope you found the steps and tips helpful in transforming your space with stylish lighting. Remember,always prioritize safety when working with electricity and consult a professional if needed. With the right tools and know-how, you can effortlessly add a touch of elegance and brightness to your home. So go ahead, get creative, and illuminate your surroundings with gorgeous pendant lights. Happy decorating!