Have you ever wanted to create your own lanyard keychain but didn’t know where to start? Don’t worry, I’ve got you covered! In this article, I’ll guide you thru the step-by-step process of making your very own personalized lanyard keychain. So grab your supplies and let’s get crafting!
Gathering Necessary Supplies
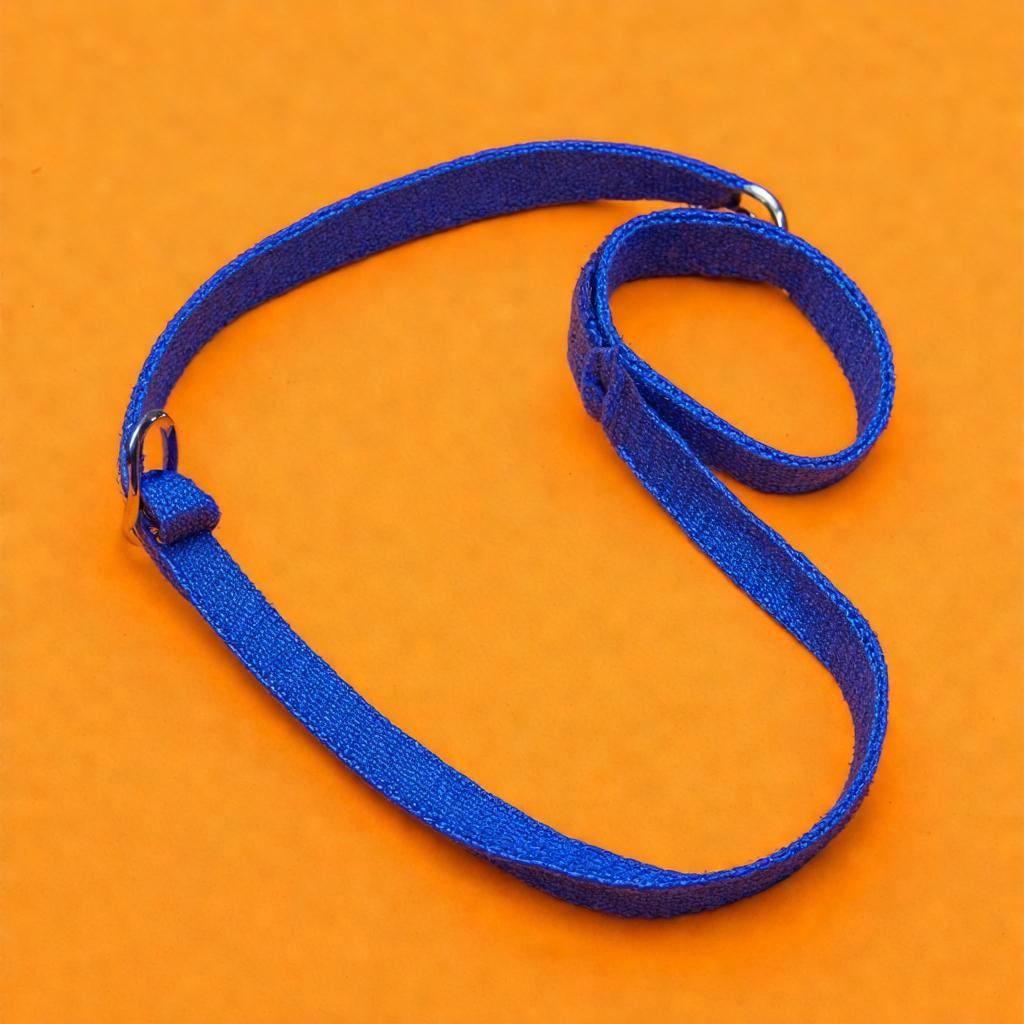
To start making a lanyard keychain, you will need to gather all the necessary supplies before diving into the crafting process. The following items are essential for creating a beautiful and functional keychain:
- A variety of colorful lanyard strings
- A key ring or lobster clasp
- Scissors for cutting the strings
- A clipboard or safety pin to hold the strings in place
Once you have all the supplies ready, you can begin the fun and creative process of making your own personalized lanyard keychain. Remember to choose your favorite colors and designs to make it truly unique!
| Color | Quantity |
|---|---|
| Red | 2 |
| Blue | 1 |
| Green | 1 |
| yellow | 1 |
Selecting the Right Type of Lanyard
Starting a lanyard keychain is a fun and creative process that allows you to personalize your accessories. To begin,you will need to choose the right type of lanyard that suits your style and needs. Here are some tips to help you select the perfect lanyard for your keychain:
– Consider the material: Lanyards come in a variety of materials such as nylon, polyester, or cotton. Choose a material that is durable and comfortable to wear.
– determine the style: decide if you want a plain lanyard or one with a design or pattern that reflects your personality. You can also opt for custom lanyards with unique colors or logos to make a statement.
Once you have selected the right lanyard, you can start assembling your keychain. Use a keyring to attach your keys to the lanyard, and you’re ready to go! Don’t forget to add any embellishments or accessories to make your lanyard keychain truly one-of-a-kind. Enjoy crafting your personalized accessory and show off your style wherever you go.
Learning Basic Knots for Keychain making
When it comes to , starting with a lanyard keychain is a great way to dive into this fun and creative craft. To begin, you’ll need a few key supplies such as colorful lanyard strings, a key ring, and a pair of scissors. Once you have your materials ready, follow these simple steps to kickstart your lanyard keychain project:
- Choose your lanyard string colors: Select two or more colors that complement each other to create a vibrant and eye-catching keychain.
- secure the key ring: Loop the lanyard strings through the key ring and tie a knot to keep it in place.
- Start knotting: Use basic knotting techniques such as square knots or spiral knots to weave your lanyard strings together and form a unique pattern.
Adding Personal Touches and Decorations
To start a lanyard keychain, you will need a few simple materials and a bit of creativity. Frist, gather your supplies, including colorful lanyard string, keychain clasps, and any decorative beads or charms you want to add to personalize your keychain. once you have everything ready, follow these steps to create your unique keychain:
– Choose your favorite colors: Select the lanyard string colors that reflect your personality or match your style.
– Cut the string: Measure and cut the lanyard string to your desired length, making sure it’s long enough to fit around your wrist comfortably.
– Tie a knot: Secure the ends of the lanyard string together with a knot, leaving a small loop at the top for attaching the keychain clasp.
– Start braiding: Begin braiding the lanyard string, using your favorite braiding technique to create a pattern that you love.
– Add beads or charms: If you want to add some extra flair to your keychain, thread beads or charms onto the lanyard string as you braid. This will give your keychain a personal touch and make it stand out.
Once you have finished braiding and decorating your lanyard keychain, attach the keychain clasp to the loop at the top and secure it in place. Now you have a stylish and personalized keychain that you can use to hold your keys or attach to your bag for a pop of color and fun!
Q&A
Q: How do you start a lanyard keychain?
A: Starting a lanyard keychain is easier than you think! All you need is some lanyard cord, a key ring, and a pair of scissors.
Q: What is the first step in making a lanyard keychain?
A: The first step is to cut a piece of lanyard cord to your desired length. Typically, a 2-foot piece of cord is a good starting point.
Q: How do you attach the key ring to the lanyard cord?
A: Simply fold the cord in half and loop it through the key ring. Then, take the loose ends and thread them through the loop, pulling tight to secure the key ring in place.Q: What kind of knot should I use to start the lanyard keychain?
A: The most common knot used for lanyard keychains is the square knot. To tie a square knot,cross the right strand over the left,then tuck it under and pull tight. Then, cross the left strand over the right, tuck it under, and pull tight again.
Q: Are there any fun variations or designs I can try for my lanyard keychain?
A: Absolutely! You can experiment with diffrent colored cords, add beads or charms, or try out different knot patterns like the cobra, fishtail, or diamond knot to create a unique and personalized keychain.
Q: Anything else I should keep in mind when starting a lanyard keychain?
A: Just have fun with it and don’t worry about being perfect. The beauty of a handmade keychain is in its imperfections and the love and effort put into creating it. So just enjoy the process and get creative!
Concluding Remarks
I hope this article has been helpful in guiding you on how to start making your own lanyard keychain. It may seem like a small accessory, but the satisfaction of creating something with your own hands is truly special. Remember, practice makes perfect, so don’t be discouraged if your first few attempts are not perfect. Keep practicing and have fun with it! Who knows, maybe making lanyard keychains will become one of your favorite hobbies.Thank you for reading and happy crafting!

