It all started with a desire to add a touch of creativity and personality to my living space. Looking to bring a unique and custom touch to my apartment, I found myself inspired by the idea of DIY pendant lights. The versatility and endless creative possibilities of making your own pendant lights have truly captured my attention. Join me as I take you on a journey through the world of DIY pendant lights, and discover how you can add a personal and stylish touch to your home décor.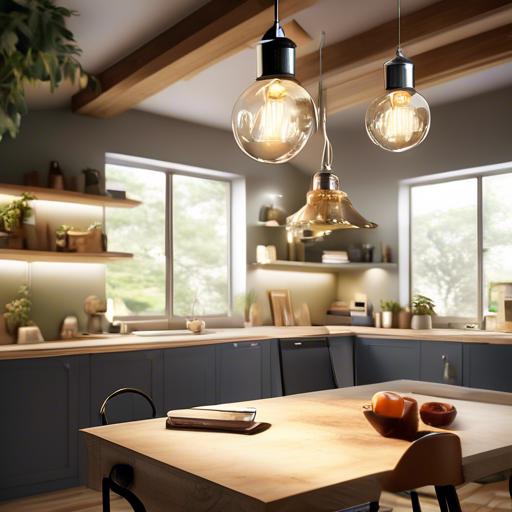
Getting Creative with DIY Pendant Lights
looking to add a touch of creativity to your home decor? DIY pendant lights are a fun and easy way to bring a unique style to any room. With just a few simple materials and a little bit of creativity,you can create custom lighting that will make a statement in your space.
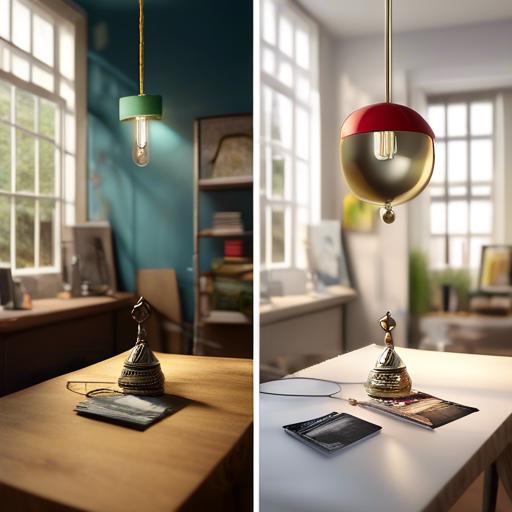
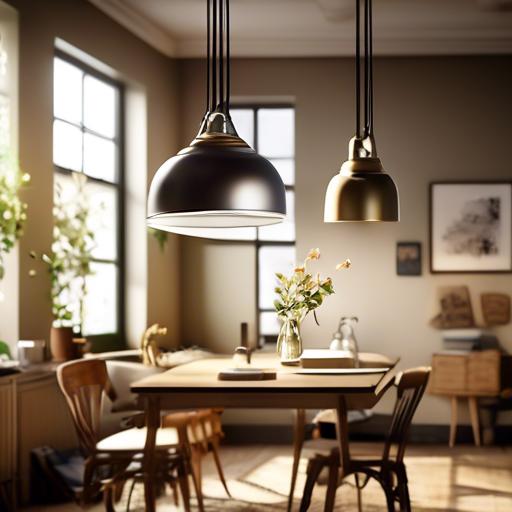
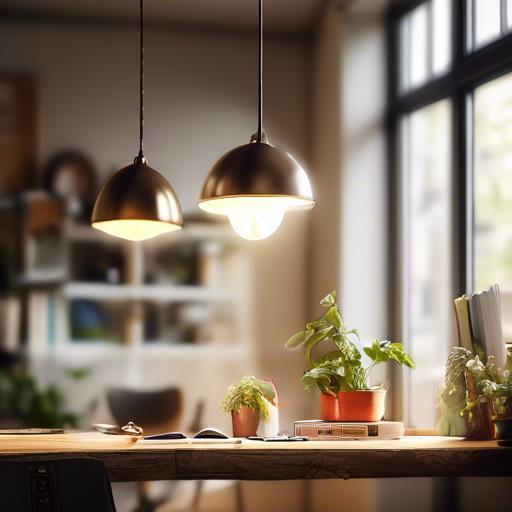
Get inspired by different materials such as recycled glass bottles or upcycled mason jars to create one-of-a-kind pendant lights. Experiment with different shapes and sizes to find the perfect fit for your space. Whether you prefer a minimalist design or something more eclectic, there are endless possibilities to explore when it comes to creating your own pendant lights.
Transforming Your Space with Unique Lighting
Creating your own pendant lights can add a unique touch to your space and brighten up the room in more ways than one. With just a few materials and a little creativity, you can transform your space into a well-lit oasis that reflects your personal style. Here are some simple steps to help you make your own pendant lights:
Materials you Will Need:
- Light cord set
- Glass mason jars or colorful lampshades
- Lightbulbs
- Ceiling hooks
- Pliers
- Scissors
Steps to Make Your Pendant Lights:
- Start by carefully following the instructions on your light cord set to ensure safety.
- Use the pliers to open the mason jar or lampshade (if needed) and carefully secure it onto the light cord set.
- Attach the lightbulb to the cord set and hang it from the ceiling hook.
- Turn on your new pendant light and enjoy the warm and inviting glow it brings to your space.
By making your own pendant lights, you can customize the design to fit your style and create a welcoming atmosphere in any room. Let your creativity shine radiant as you transform your space with these unique lighting fixtures.
materials and Tools for Crafting your Own Pendant Lights
For your DIY pendant light project, you’ll need a variety of materials and tools to create a beautiful and unique lighting fixture for your home. Some essential items to gather include:
- Electrical wire
- Light bulb socket
- Wire cutters
- Pliers
- Drill
- Screwdriver
- Chain or cord for hanging
Additionally, you’ll want to consider the aesthetic of your pendant light and choose materials such as glass globes, metal cages, or even repurposed items like mason jars or wine bottles. Get creative and have fun with the design process to make a pendant light that reflects your style and personality.
| Materials | cost |
|---|---|
| Electrical wire | $5 |
| Light bulb socket | $3 |
| Glass globe | $8 |
| Metal cage | $10 |
Step-by-Step Guide to Designing and Installing DIY Pendant Lights
So you want to add some unique lighting to your space? Why not try designing and installing your own DIY pendant lights! Follow these simple steps to create custom lighting fixtures that will brighten up any room.
- Gather Your Materials: Start by collecting all the necessary supplies for your pendant lights, including light sockets, wires, ceiling canopy, and bulbs.
- Design Your Pendant Lights: Get creative with your design! Whether you want a minimalist look or a boho vibe, there are endless possibilities for customizing your pendant lights.
| DIY Pendant Lights Materials |
|---|
| Light sockets |
| Wires |
| Ceiling canopy |
| Bulbs |
Once you have all your materials and a design in mind, it’s time to start installing your DIY pendant lights. Follow these steps carefully and soon you’ll have beautiful custom lighting in your home!
- Install the Light Sockets: Begin by attaching the light sockets to the wires and securing them in place.
- Hang Your Pendant Lights: Install the ceiling canopy and hang your pendant lights in the desired location, making sure to secure them properly.
Q&A
Q: What materials do I need to make a DIY pendant light?
A: To create your own pendant light, you will need a socket kit, electrical wire, a bulb, a ceiling canopy, and a lampshade or some kind of decorative element to house the bulb.
Q: Is it safe to make my own pendant light?
A: As long as you follow proper safety precautions and use materials that are intended for electrical wiring, making your own pendant light can be a fun and safe DIY project.
Q: Can I customize the design of my DIY pendant light?
A: Absolutely! One of the benefits of making your own pendant light is the ability to personalize it to fit your unique style and décor.
Q: How do I install my DIY pendant light?
A: Installing a pendant light involves connecting the electrical wires to your ceiling wiring and securing the light fixture in place. It’s crucial to turn off the power before beginning the installation process and, if you’re not familiar with electrical work, it might potentially be wise to consult a professional.Q: What are some creative ideas for DIY pendant lights?
A: You can use a variety of materials such as mason jars, wine bottles, wire baskets, or even unexpected objects like driftwood or vintage spoons to create one-of-a-kind pendant lights. let your imagination run wild!
Wrapping up
As you embark on your journey to create your own pendant lights, remember that the possibilities are truly endless. Whether you choose to upcycle old materials or splurge on new ones, the satisfaction of seeing your creation light up a room will always be worth it. So, roll up your sleeves, gather your tools, and let your creativity shine through in every DIY pendant light you make. Happy crafting!