As a lover of all things handmade and DIY,there’s a special place in my heart for crafting personalized accessories. And one of my favorite ways to add a little something extra to my outfits? DIY lapel pins. These tiny adornments are not only super easy to make, but they also give you the chance to showcase your own unique style and creativity. So if you’re looking to up your accessory game and show off your crafting skills, keep reading for some tips and tricks on how to create your very own DIY lapel pins.
Creating Unique Lapel Pins for Every Occasion
For those looking to add a personal touch to their outfit, can be a fun and creative way to express yourself. With just a few simple materials and a bit of creativity, you can design one-of-a-kind lapel pins that are sure to turn heads.
Materials you will need:
- Pin backs
- Epoxy resin
- Small paintbrushes
- Various decorative elements (such as beads, glitter, or small charms)
- Mold (you can use silicone molds or create your own with clay)
Step 1: Start by mixing your epoxy resin according to the instructions on the packaging.
Step 2: Pour the resin into your mold, filling it about halfway.
Step 3: Add in your decorative elements, using the small paintbrush to arrange them how you like.
Step 4: allow the resin to cure according to the instructions on the packaging.
step 5: Once the resin has cured, attach a pin back to the back of your lapel pin using a strong adhesive.
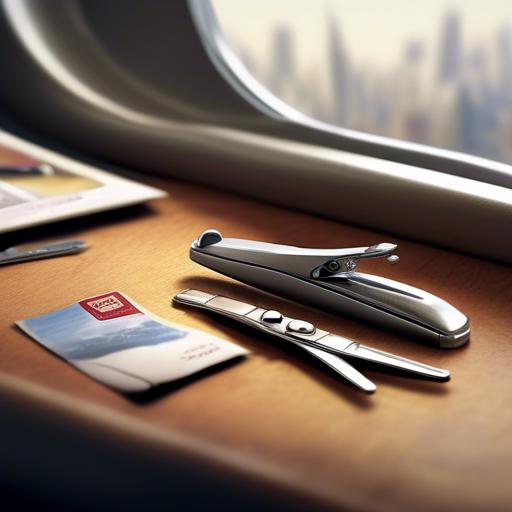
Materials and Tools You Need to Get Started
To create your own unique lapel pins, you will need a few key materials and tools to get started.First, you will need enamel pin blanks, which serve as the base for your design. These blanks come in various shapes and sizes, so choose ones that best fit your vision. Next, you will need enamel pin paint, which is used to add color to your pins. Make sure to have a variety of colors on hand to bring your designs to life.
In addition to the enamel pin blanks and paint,you will also need pin backs to attach your finished pins to clothing or accessories.Make sure to choose high-quality pin backs to ensure your pins stay securely in place. Lastly, you will need paint brushes, clay sculpting tools, and glue to help you create and assemble your lapel pins. With these materials and tools in hand, you’ll be ready to start crafting your own custom lapel pins in no time.
step-By-Step Guide to Making Your Own Lapel Pins
Creating your own lapel pins can be a fun and rewarding DIY project. With just a few materials and some creativity, you can design unique pins to accessorize your outfits or give as gifts to friends and family. Follow this step-by-step guide to get started on making your own custom lapel pins.
First, gather your materials, including pin backs, metal lapel pin blanks, epoxy resin, acrylic paint, and paintbrushes. Start by painting your design onto the metal pin blank using acrylic paint.Allow the paint to dry completely before sealing it with a layer of epoxy resin. Once the resin has cured, attach a pin back to the back of the blank using strong adhesive.Your custom lapel pin is now ready to wear or share! Add personal touches like glitter, rhinestones, or charms to make your pins even more unique.Experiment with different shapes, colors, and designs to create a collection of one-of-a-kind accessories.
Tips and Tricks for Designing Eye-Catching Lapel Pins
Creating your own eye-catching lapel pins can be a fun and rewarding DIY project. To make your designs stand out, consider these tips and tricks:
Use bold colors: When designing your lapel pins, opt for vibrant and eye-catching colors that will make your pins pop. Bold colors can attract attention and make your pins more visually appealing.
Experiment with unique shapes: Rather of sticking to customary circular or rectangular shapes, get creative with the shape of your lapel pins. Try using unconventional shapes such as stars, hearts, or even custom shapes that relate to your personal interests or brand. This will help make your pins more memorable and distinctive.
| Tip 1 | Use bold colors |
| Tip 2 | Experiment with unique shapes |
Q&A
Q: What materials do I need to make my own DIY lapel pins?
A: You’ll need some blank pin backs, epoxy resin, a small paint brush, jewelry charms or buttons, and a mixing cup and stick.
Q: How difficult is it to make your own lapel pins?
A: It can be a bit tricky at first, but with practice and patience, you’ll get the hang of it in no time.
Q: Are there any special techniques I should know about?
A: one important technique to master is mixing the epoxy resin properly and applying it evenly to your pin backs.
Q: Can I customize my lapel pins with my own designs?
A: Absolutely! You can use anything from photographs to drawings to create unique and personalized lapel pins.
Q: Where can I find inspiration for my DIY lapel pins?
A: Pinterest, Instagram, and craft blogs are great places to find inspiration for your own unique lapel pins.
Q: Are DIY lapel pins a cost-effective option to buying them already made?
A: Yes, definitely. Making your own lapel pins can save you money in the long run and allow you to create truly one-of-a-kind pieces.
In Retrospect
I hope this article has inspired you to get creative and make your own unique lapel pins! Whether you choose to design pins for yourself or to give as gifts, the possibilities are endless. DIY lapel pins are a fun and affordable way to personalize your accessories and express your style. So grab your supplies and start crafting – who knows, you may discover a new passion for pin-making! Don’t forget to share your creations with us and happy crafting!