Acrylic keychains have exploded in popularity thanks to their vibrant colors, lightweight feel, and ability to showcase detailed artwork. Whether you are a hobbyist looking to craft personalized gifts or a business exploring merchandise options, learning how to make acrylic keychain designs opens up a world of creative possibilities. This comprehensive guide walks you through the entire DIY process, from gathering materials to finishing techniques, and also introduces professional manufacturing alternatives when you need quality at scale.
Why Acrylic Keychains Are So Popular
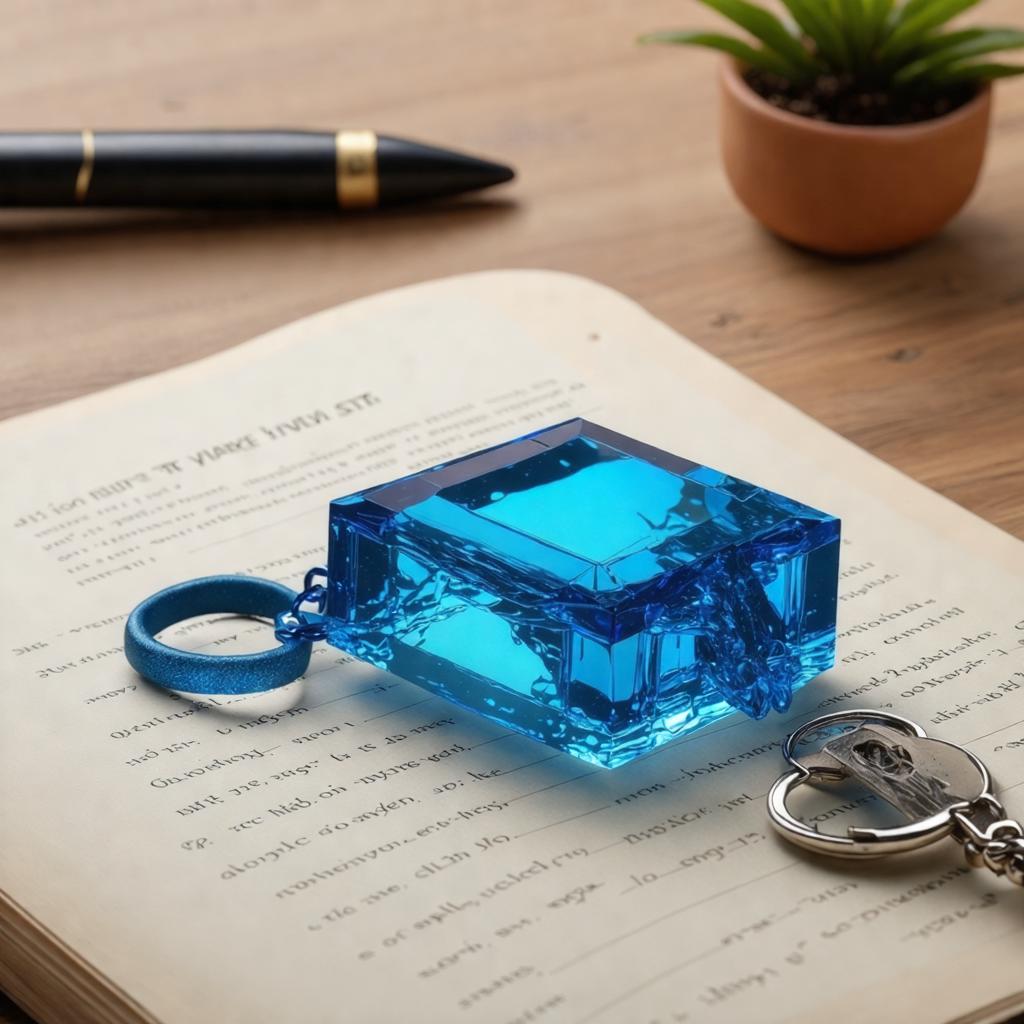
Acrylic, also known as plexiglass or Perspex, is a versatile thermoplastic that offers exceptional clarity and color retention. Compared to metal or leather, acrylic keychains are:
- Lightweight: Easy to carry in pockets or bags without adding bulk.
- Affordable: Raw materials and production costs are relatively low.
- Customizable: Accepts UV printing, laser engraving, and layered assembly.
- Durable: Resistant to impact, moisture, and fading when properly sealed.
- Eco-friendly options: Recycled acrylic sheets are increasingly available.
These qualities make acrylic an ideal medium for artists, small businesses, and corporate promotional campaigns alike.
Materials and Tools You Will Need
Before diving into production, assemble the following supplies:
- Acrylic sheets (clear, colored, or glitter-infused)
- Keychain blanks or pre-cut acrylic shapes
- Jump rings and split key rings
- Acrylic paint pens, markers, or UV resin for detailing
- Scissors or acrylic cutter
- Drill with small bits or a Dremel tool
- Sandpaper (fine grit for edge smoothing)
- Masking tape or protective film
- Ruler and permanent marker
- Cutting mat
- Optional: UV lamp if using UV resin coatings
Step-by-Step Guide: How to Make Acrylic Keychain Designs
Step 1: Design Your Artwork
Start by sketching or digitally designing your keychain concept. Keep in mind the size constraints, typically 2 to 3 inches in height for portability. Bold outlines and high-contrast colors translate best to acrylic. If you plan to print directly onto the surface, ensure your image resolution is at least 300 DPI.
Step 2: Prepare the Acrylic Sheet
Remove the protective film from one side of the acrylic sheet. Apply masking tape to the surface if you intend to trace a pattern. This prevents scratches and gives you a clean surface to mark.
Step 3: Cut the Shape
Use an acrylic cutter for straight lines or a scroll saw for intricate curves. For small batches, a laser cutter provides the cleanest edges and greatest precision. Always work in a well-ventilated area and wear safety goggles.
Step 4: Drill the Hole
Mark the hole placement with a permanent marker, typically 3 to 5 millimeters from the edge. Drill slowly with a bit slightly larger than your jump ring to prevent cracking. Sand the hole gently to remove burrs.
Step 5: Smooth the Edges
Acrylic edges can be sharp after cutting. Use fine-grit sandpaper or a flame-polishing technique to achieve a glossy, professional finish. Flame polishing involves briefly exposing the edge to a propane torch, which melts the surface slightly for a glass-like smoothness.
Step 6: Apply Your Design
You have several options for transferring artwork onto acrylic:
- UV Printing: Professional-quality, full-color images bonded directly to the surface.
- Vinyl Decals: Cut adhesive vinyl on a Cricut or Silhouette machine and apply carefully.
- Paint Pens: Hand-draw designs for a truly one-of-a-kind look.
- Resin Doming: Print your design on paper, seal it between acrylic layers, and dome the top with clear resin for depth.
Step 7: Assemble the Hardware
Attach a jump ring through the drilled hole, then connect the split key ring. Test the assembly by gently tugging to ensure everything is secure.
Step 8: Add a Protective Finish
Seal painted or printed surfaces with a clear acrylic spray or UV resin. This protects against scratches, moisture, and UV fading.
Design Tips for Standout Acrylic Keychains
Creating a keychain that people actually want to use requires attention to aesthetics and ergonomics:
- Layer for Depth: Use multiple acrylic layers to create a 3D effect. For example, a background layer, a middle character layer, and a top text layer.
- Holographic Backing: Apply holographic or glitter paper behind clear acrylic for a sparkling background.
- Double-Sided Designs: Mirror your artwork so the keychain looks great from every angle.
- Charm Add-Ons: Dangle small charms, tassels, or beads from the jump ring for extra flair.
- Epoxy Coating: A domed epoxy layer adds a luxurious, lens-like quality that elevates perceived value.
Common Mistakes to Avoid
Beginners often encounter these pitfalls when learning how to make acrylic keychain products:
- Drilling too close to the edge: This causes cracks. Always leave adequate margin.
- Skipping edge finishing: Rough edges look amateur and can scratch users.
- Using low-resolution images: Blurry prints ruin an otherwise beautiful design.
- Neglecting sealing: Unprotected paint or paper will peel and fade quickly.
- Overcomplicating shapes: Extremely thin protrusions are fragile and prone to breaking.
When DIY Is Not Enough: Professional Custom Manufacturing
Handcrafting acrylic keychains is rewarding for small projects, but scaling to hundreds or thousands of units presents significant challenges. Equipment costs, material waste, inconsistent quality, and time investment can quickly erode your margins. That is where professional manufacturing becomes essential.
Metal Crafts Pro offers specialized custom keychain manufacturing services that bridge the gap between your creative vision and commercial reality. Our production capabilities include:
- Precision Laser Cutting: Computer-guided cutting ensures every piece is identical, even at high volumes.
- Full-Color UV Printing: Photorealistic prints with exceptional durability and scratch resistance.
- Resin Doming: Optional epoxy coating for a premium, glass-like finish.
- Multi-Layer Assembly: Complex 3D constructions with perfect alignment.
- Quality Assurance: Inspection at every stage guarantees color accuracy, structural integrity, and hardware security.
By partnering with an experienced manufacturer, you gain access to wholesale pricing, faster turnaround times, and the consistency required for retail or corporate distribution.
Get a Free Quote for Custom Acrylic Keychains
Comparing DIY vs. Professional Manufacturing
| Factor | DIY Approach | Professional Manufacturing |
|---|---|---|
| Unit Cost (Low Volume) | Moderate | Higher per-unit minimums |
| Unit Cost (High Volume) | High due to labor | Significantly lower |
| Design Complexity | Limited by equipment | Nearly unlimited |
| Consistency | Variable | Identical across batch |
| Time Investment | Substantial | Minimal on your end |
| Finish Quality | Depends on skill | Professionally polished |
Frequently Asked Questions
How thick should acrylic be for keychains?
Most acrylic keychains use material between 2mm and 4mm thick. Thicker acrylic feels more substantial but adds weight and cost. For layered designs, multiple 2mm sheets are often combined.
Can I make acrylic keychains without a laser cutter?
Absolutely. A hand-held acrylic cutter, scroll saw, or even a sturdy craft knife can work for simpler shapes. However, intricate designs are much easier with laser cutting.
What is the best way to print on acrylic?
UV flatbed printing delivers the best adhesion, color vibrancy, and scratch resistance on acrylic. For home setups, printable vinyl applied to the surface is a viable alternative.
How do I prevent acrylic from cracking when drilling?
Use a drill bit designed for plastics, apply gentle pressure, and place scrap wood beneath the acrylic for support. Drilling at a slower speed reduces heat buildup and cracking risk.
Is professional manufacturing worth it for small batches?
For orders under 50 pieces, DIY or local print shops may be more economical. For 100 pieces or more, professional manufacturing typically offers better quality and lower per-unit costs.
Conclusion
Learning how to make acrylic keychain designs is an enjoyable and accessible craft that yields beautiful, personalized accessories. With the right materials, tools, and techniques, you can produce professional-looking keychains from your home or studio. However, when your ambitions grow beyond hobby quantities, aligning with a trusted manufacturer like Metal Crafts Pro ensures your products meet commercial standards without the headaches of scaling production yourself. Whether you choose the hands-on DIY route or the efficiency of bulk manufacturing, acrylic keychains remain one of the most versatile and appealing ways to showcase art, promote brands, and create memorable keepsakes. Reach out today to explore how we can turn your designs into reality.

