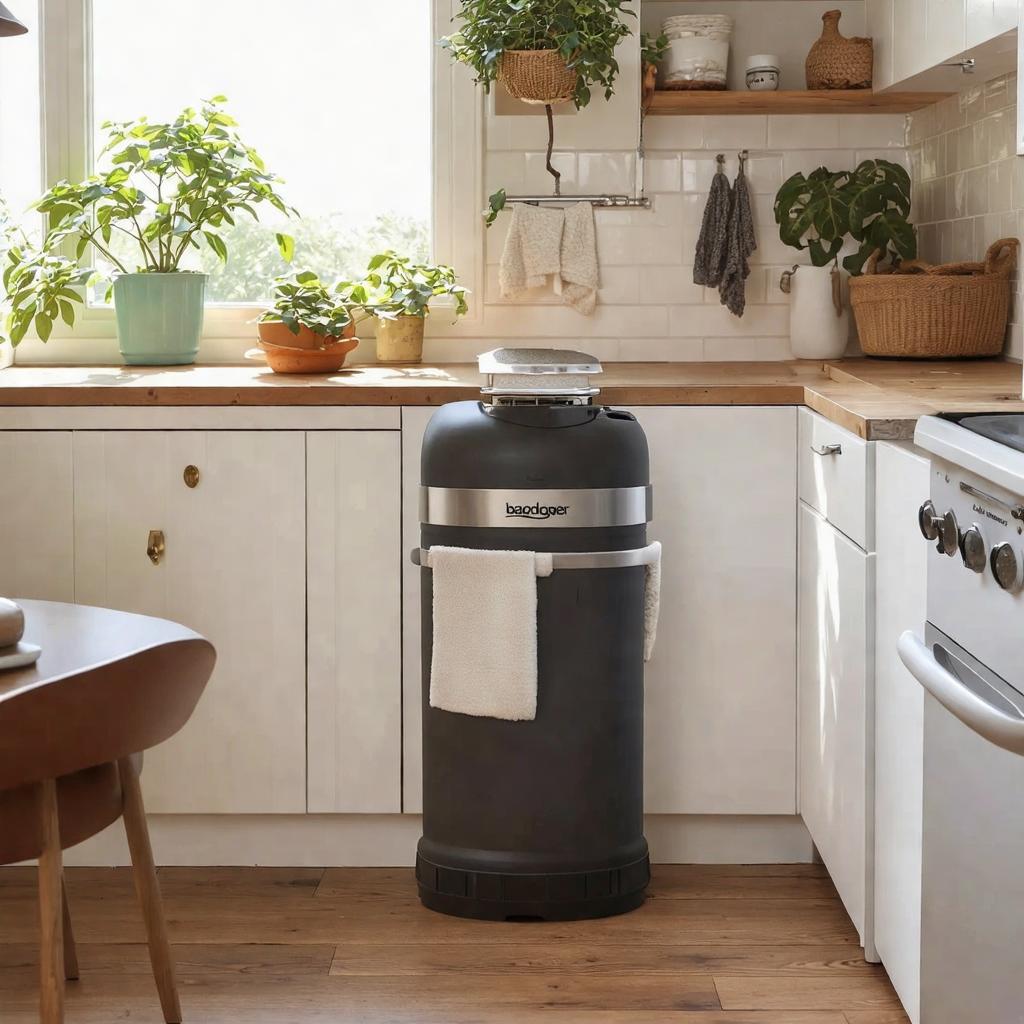
Have you ever found yourself frustrated by a smelly kitchen sink or constantly having to unclog your garbage disposal? If so, it might potentially be time to upgrade to a badger garbage disposal. whether you’re a seasoned DIY pro or a novice when it comes to home enhancement projects, installing a badger garbage disposal is a manageable task that can make a huge difference in the functionality of your kitchen. In this article, we’ll walk you through the step-by-step process of installing a badger garbage disposal, so you can say goodbye to kitchen sink woes once and for all. Let’s get started!
Getting Started with Badger Garbage Disposal Installation
To begin the installation process for your Badger garbage disposal, start by gathering all the necessary tools and materials. You will need a screwdriver, a wrench, plumber’s putty, electrical tape, and the garbage disposal unit itself. Make sure to also have a towel or bucket on hand to catch any excess water that may leak during the process.
Next,follow these steps to install your Badger garbage disposal:
– Turn off the power to the garbage disposal at the circuit breaker.
– Remove the drain pipe and existing disposal unit (if applicable).- Attach the mounting bracket and install the disposal unit using the provided instructions.
– Connect the drain pipes and secure everything in place with the wrench.
– Turn the power back on and test the disposal to ensure it is indeed functioning properly.
Important Tools and Materials for a Successful Installation
When it comes to installing a Badger garbage disposal, there are a few essential tools and materials that you will need to ensure a successful installation. Here are some key items to have on hand:
- Adjustable wrench: This tool will be necessary for tightening and loosening nuts and bolts during the installation process.
- Screwdriver set: You’ll need various types of screwdrivers to help with removing old parts and attaching new ones.
- Plumber’s putty: This waterproof sealant will help prevent leaks around the sink flange.
Additionally, you may also want to have a bucket, towels, and a flashlight nearby to assist with the installation. By having these tools and materials ready,you can ensure that the process goes smoothly and efficiently,allowing you to enjoy your new Badger garbage disposal in no time.
step-by-Step Guide to Installing Your Badger Garbage Disposal
To successfully install your Badger garbage disposal, follow these easy steps:
First, gather all the necessary tools and materials, including a screwdriver, pliers, plumber’s putty, and the installation manual provided by badger. Next, turn off the power to the disposal unit by switching off the circuit breaker. Remove any existing disposal unit by disconnecting the drain and electrical connections. Place a bucket under the sink to catch any water or debris that may fall during the installation process.
Now, carefully follow the step-by-step instructions in the manual to install your new Badger garbage disposal. Make sure to securely connect the drain and electrical wires, and use plumber’s putty to create a watertight seal around the sink flange.Once everything is in place,turn the power back on and test the disposal to ensure it is working properly. with these simple steps, you’ll have your Badger garbage disposal up and running in no time!
Troubleshooting Common Installation Issues and Tips for Success
To ensure a smooth installation process for your badger garbage disposal, it is important to troubleshoot common issues that may arise. One common issue that many people face is improper alignment of the disposal unit with the mounting assembly. Make sure to properly align the unit before tightening the mounting bolts to avoid any leaks or malfunctions. Additionally, be sure to check the power source and ensure that the disposal is properly connected to power before testing it.
Another tip for successful installation is to double-check all connections and fittings to ensure everything is secure and properly sealed. This includes checking the drain pipe connection, dishwasher connection (if applicable), and any electrical wiring. It’s also critically important to follow the manufacturer’s instructions carefully and refer to the installation manual for any specific guidelines. By taking the time to troubleshoot common issues and following these tips, you can successfully install your badger garbage disposal with ease.
| Tip |
|---|
| Properly align the disposal unit with the mounting assembly |
| Double-check all connections and fittings |
Q&A
Q: What tools do I need to install a badger garbage disposal?
A: You will need a screwdriver, pliers, a wrench, a bucket for catching water, and a flashlight.
Q: Is it tough to install a badger garbage disposal?
A: It can be a bit challenging if you have never done it before, but with the right tools and some patience, it is definitely doable.
Q: Can I install a badger garbage disposal by myself, or do I need to hire a professional?
A: You can certainly try to install it yourself, but if you are unsure or not confident in your abilities, it might potentially be best to hire a professional to avoid any potential issues.
Q: How long does it take to install a badger garbage disposal?
A: The installation process can vary depending on your level of experience, but it typically takes around an hour to complete.
Q: Are there any tips or tricks for installing a badger garbage disposal?
A: Make sure to read the manufacturer’s instructions carefully and double-check all connections to ensure a proper and secure installation. It is also helpful to have someone assist you during the process for an extra set of hands.
To Wrap It Up
Now that you’ve learned the step-by-step process of installing a badger garbage disposal, you can confidently tackle this home improvement project yourself. Remember to always prioritize safety and consult the manufacturer’s instructions for specific guidelines.with a bit of patience and the right tools,you’ll have your new disposal up and running in no time. Happy DIY-ing!