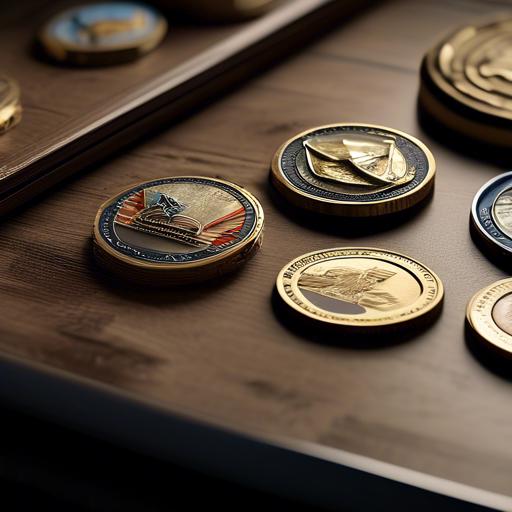
A challenge coin collection represents years of service, achievement, and camaraderie. But without proper display, even the most impressive collection remains hidden in drawers or boxes. For organizations that issue challenge coins regularly, providing custom challenge coin holders and display cases adds tremendous perceived value and encourages recipients to showcase their coins proudly. Whether you need a single prototype or thousands of bulk manufactured holders, understanding the options helps you choose the right solution.
Why Challenge Coin Holders Matter for Organizations
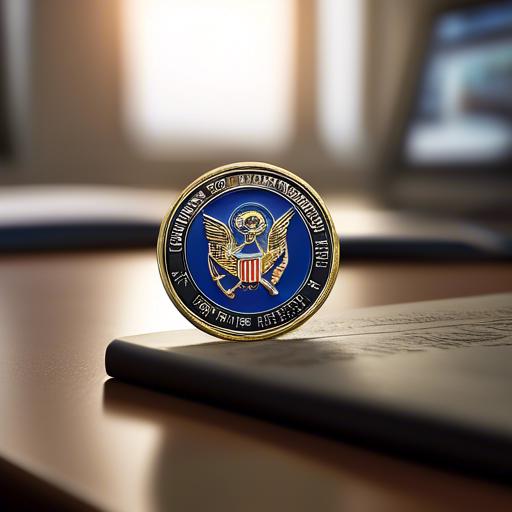
When an organization presents a challenge coin, the moment of exchange is memorable. However, the long-term display of that coin determines how often it is seen, discussed, and appreciated. A well-designed holder transforms a loose coin into a desktop conversation piece, a wall-mounted tribute, or a portable presentation set.
Organizations that invest in custom challenge coin holders alongside their coins report higher recipient satisfaction and greater visibility for their brand or unit. Holders also protect coins from scratches, oxidation, and environmental damage, preserving their finish for decades.
Types of Challenge Coin Holders and Displays
The right holder depends on the number of coins, the display environment, and the intended recipient. Metal Crafts Pro manufactures and sources a wide range of holder styles to complement our custom coin production.
Desktop Display Stands
Single-coin and multi-coin desktop stands keep collections visible on office desks, shelves, and mantels. Acrylic stands offer modern clarity. Wooden bases with felt-lined recesses provide classic elegance. Metal stands with engraved plaques add institutional gravitas.
Wall-Mounted Display Cases
For larger collections, wall-mounted cases with glass fronts protect coins while making them viewable from a distance. These cases often incorporate organizational logos, mission statements, or engraved brass plates. They are popular for military command centers, police stations, fire houses, and corporate lobbies.
Presentation Boxes and Velvet Pouches
Individual presentation boxes elevate the coin-giving ceremony. Wooden boxes with hinged lids and satin interiors create a premium unboxing experience. Velvet pouches offer an affordable yet dignified option for mass distribution at ceremonies and conventions.
Albums and Portfolio Binders
Collectors with extensive collections often prefer albums with clear pockets that allow both sides of each coin to be viewed. Custom leatherette albums with embossed covers make excellent gifts for retiring service members or long-tenured employees.
Materials Used in Challenge Coin Holder Manufacturing
Material selection for holders balances aesthetics, durability, and cost. Metal Crafts Pro works with clients to specify materials that align with their budget and brand positioning.
- Solid Wood: Oak, walnut, and mahogany provide premium appearance and substantial weight. Ideal for executive gifts and retirement presentations.
- Engineered Wood and MDF: Cost-effective alternatives that accept staining, painting, and veneer wrapping for attractive finishes at lower unit costs.
- Acrylic and Glass: Crystal-clear visibility with modern styling. Acrylic is shatter-resistant and lighter than glass, making it preferable for shipping.
- Metal Frames: Aluminum and brass frames offer industrial durability and contemporary aesthetics for wall-mounted and desktop applications.
- Leather and Leatherette: Used for albums, pouches, and box exteriors to create tactile luxury at moderate cost.
Custom Branding on Challenge Coin Holders
A challenge coin holder becomes significantly more valuable when customized with organizational branding. Metal Crafts Pro offers several branding methods:
- Laser Engraving: Precise permanent marking on wood, metal, and acrylic surfaces.
- Screen Printing: Full-color logos and text on flat panel surfaces.
- Metal Plaques: Etched or cast brass and aluminum plates mounted to wooden bases.
- Embossing and Debossing: Raised or recessed patterns on leather and leatherette covers.
Bulk Manufacturing Considerations
Ordering challenge coin holders in bulk requires attention to packaging, assembly, and quality consistency. Metal Crafts Pro manages the entire supply chain for large orders, including individual polybagging, custom carton labeling, and drop-shipping to multiple destinations. Our quality control process inspects every holder for finish consistency, dimensional accuracy, and hardware integrity.
Lead times for bulk holder orders vary by material and customization complexity. Standard acrylic stands typically ship within two to three weeks. Custom wooden cases with laser engraving may require four to six weeks. Planning ahead ensures that holders arrive in time for ceremonies, conventions, and holiday distribution.
If your organization is ready to enhance its challenge coin program with professional display solutions, Metal Crafts Pro offers comprehensive manufacturing services from coin production to holder customization. Contact us today for a free quote, digital mockup, and consultation on the best holder style for your specific needs and budget.