As I sat in my living room, staring up at my outdated pendant light, I couldn’t help but feel a sense of urgency to revamp this crucial element of my home decor. with a new found motivation, I embarked on a mission to learn how to properly replace a pendant light fixture. Join me as I share the step-by-step process and tips on how you can easily swap out your old pendant light for a fresh, modern look in your own home.
choosing the Right pendant Light for Your Space
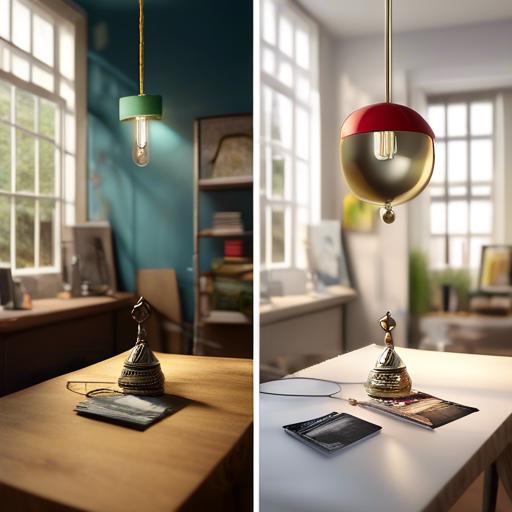
When it comes to replacing your pendant light, there are a few key factors to consider to ensure you choose the right one for your space. The first thing to think about is the size of the pendant light. Consider the scale of the room where the light will be installed and choose a pendant that complements the space without overwhelming it. You also want to make sure the pendant is at the right height – typically around 28-34 inches above the surface below.
Next,think about the style of the pendant light. Are you going for a modern look with clean lines, or do you prefer a more traditional design with intricate details? Consider the overall aesthetic of your space and choose a pendant light that fits in seamlessly. don’t forget about the type of lighting you need. Do you want a pendant light that provides ambient lighting,task lighting,or accent lighting? Be sure to choose a pendant that meets the lighting needs of the room while also adding a stylish touch to the space. And remember, when in doubt, always consult with a professional to ensure proper installation.
| Type | Features |
|---|---|
| Modern Pendant Light | – Clean lines – Sleek design |
| Traditional Pendant Light | – Intricate details – Classic style |
Tools and Materials Needed for the Replacement Process
For the replacement process of your pendant light, you will need a few essential tools and materials to ensure a smooth and successful installation. First and foremost, make sure you have a screwdriver handy, preferably with both flathead and Phillips head options to accommodate various screw types. You will also need a voltage tester to ensure the power is safely turned off before beginning any work.
Additionally, gather wire nuts, electrical tape, a ladder for reaching the pendant light fixture, and a new pendant light fixture to replace the old one. Be sure to read the manufacturer’s instructions for the new fixture carefully before beginning the replacement process. By having all of these tools and materials ready, you will be well-prepared to tackle the task of replacing your pendant light with confidence and ease.
Step by Step Guide to Safely Replace a Pendant Light
Replacing a pendant light may seem like a daunting task, but with the right tools and know-how, it can be a simple and satisfying DIY project. To safely replace a pendant light, follow these step-by-step instructions:
First, turn off the power to the existing pendant light at the circuit breaker. Use a voltage tester to double-check that the power is off before proceeding.next, remove the old pendant light by unscrewing the mounting bracket and disconnecting the wires. Remember to keep track of which wires are connected to each other for easy reinstallation. Then, assemble the new pendant light according to the manufacturer’s instructions. Make sure to choose a pendant light that complements your space and fits the existing mounting bracket.
Once the new pendant light is assembled, attach the mounting bracket to the ceiling and connect the wires, matching the color-coded wires (usually black to black, white to white, and green or copper to ground). Secure the wires with wire nuts and tuck any excess wire into the electrical box. attach the pendant light to the mounting bracket and tighten any screws as needed. turn the power back on at the circuit breaker and admire your newly installed pendant light!
Common Mistakes to Avoid When Replacing a Pendant Light
When replacing a pendant light, it’s vital to avoid some common mistakes that can lead to frustration and potential safety hazards. One mistake to avoid is not turning off the power before starting the replacement process. This may seem like a simple step, but it is crucial to ensure your safety and avoid electrical shock.
Another common mistake is not checking the weight limit of the new pendant light before installing it. Each light fixture has a specific weight limit, and exceeding this limit can damage the ceiling wiring or even cause the light to fall.Be sure to check the weight limit of your new pendant light and make sure it is appropriate for your space.
Q&A
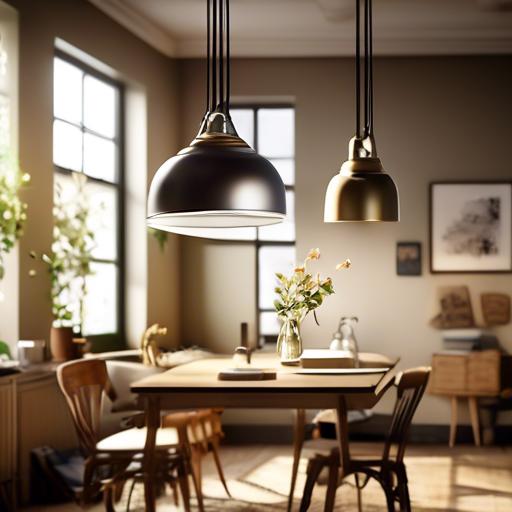
Q: I want to replace the pendant light in my dining room. Where should I start?
A: The first step is to turn off the power to the existing pendant light at the circuit breaker.
Q: How do I remove the old pendant light fixture?
A: Start by removing the canopy or base of the pendant light to expose the wiring. Then disconnect the wires and remove the old fixture from the ceiling.
Q: How do I choose a new pendant light fixture?
A: Consider the size and style of your room, as well as the height of your ceiling. Look for a pendant light that complements your existing decor.
Q: How do I install the new pendant light fixture?
A: Follow the manufacturer’s instructions for wiring and installation. Make sure to secure the new fixture to the ceiling and connect the wires properly.
Q: What if I’m not pleasant with electrical work?
A: It’s always best to hire a professional electrician to install your new pendant light fixture if you’re unsure about working with electrical wiring. Safety should always be a top priority.
In Retrospect
As I stand back and admire my newly installed pendant light, I feel a sense of accomplishment and satisfaction. The process may have been challenging at times, but the end result is well worth it. I hope that this guide has provided you with the data and confidence needed to successfully replace your own pendant light. Remember, with a little patience and perseverance, you can transform the look and feel of any room in your home. So go ahead, take on the challenge and let your creativity shine through. Happy DIY-ing!