Have you ever found yourself struggling to create professional-looking name badges for an event or conference on Microsoft Word? Fear not, because I have the perfect solution for you! In this article, I will guide you through the simple steps to create customized name badges that will wow your attendees and make a lasting impression. So grab your computer, open up Word, and let’s get started on crafting the perfect name badges together!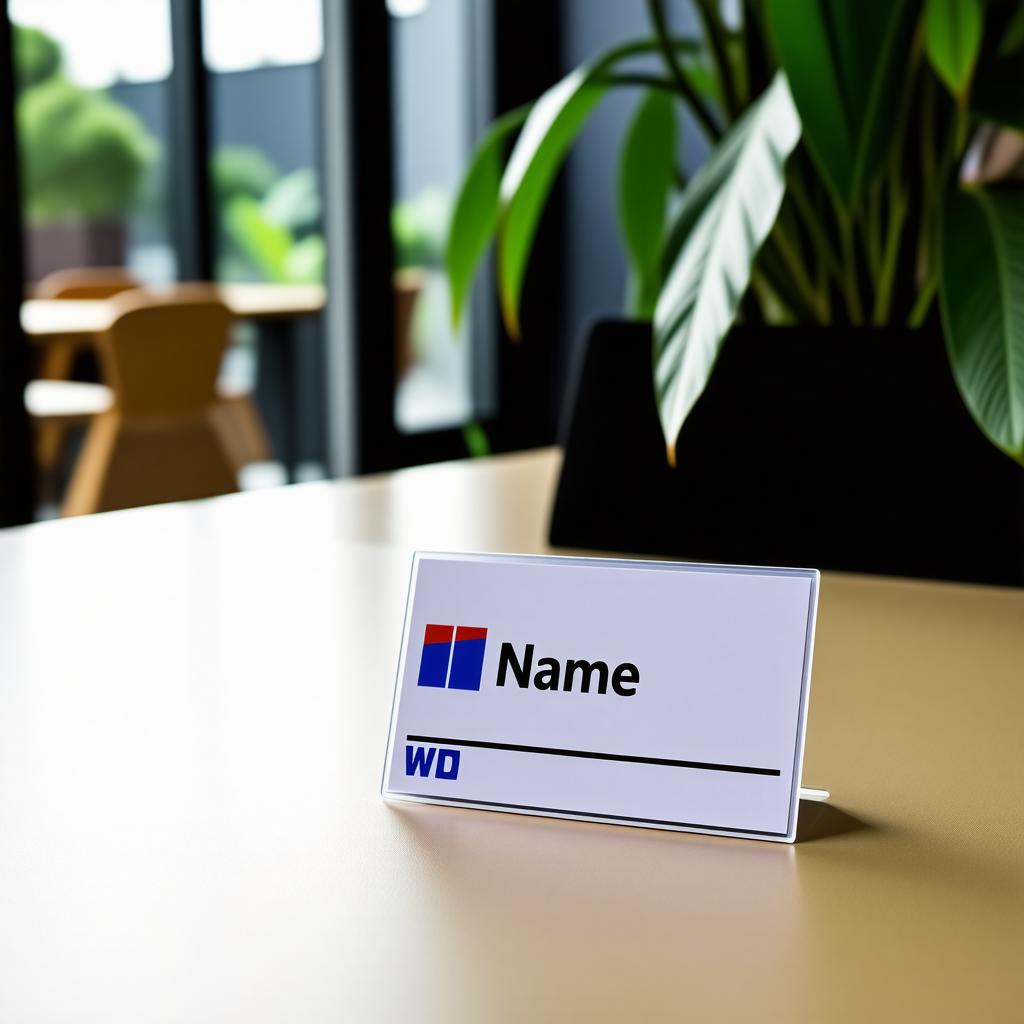
The Basics of Name Badge Creation in Microsoft Word
Creating name badges in Microsoft Word is a simple and efficient process that can save you time and money. By following a few easy steps, you can design professional-looking name badges for your next event or conference. To start, open a new document in Word and select the “Mailings” tab at the top of the screen.
Next,click on the “Labels” option and choose the type of label you want to use for your name badges. You can select from a variety of pre-set label sizes, or create a custom size for your badges. Once you have selected your label size, you can begin adding text, images, and any other design elements to your name badges. Don’t forget to include the names of your attendees and any other relevant information on each badge. With just a few clicks, you can have professional-looking name badges ready to go for your next event!
Utilizing Templates to Create Professional Name Badges
To create professional name badges using Microsoft Word, you can utilize templates to streamline the process and achieve a polished result. With the plethora of templates available, you can easily customize your name badges to suit your company’s branding and style.
To get started, simply open Microsoft Word and search for name badge templates in the template gallery. Once you have selected a template that fits your needs,you can customize it by adding your company logo,employee names,and any other relevant information. Utilizing templates in Word is a convenient and efficient way to create professional-looking name badges for your team or event.
| Name | Position |
|---|---|
| John doe | Marketing Manager |
| Jane Smith | Sales Associate |
Customizing Name Badges with Images and Design Elements
To create custom name badges with images and design elements in Word, follow these simple steps:
– Open Microsoft Word and create a new document.
– Click on the “Insert” tab at the top of the screen.
– Select “Pictures” to insert an image onto the name badge.- resize and position the image as desired.
– Add text boxes for the name, title, and any additional information.
– Customize the font style, size, and color to match the design theme.
– Use shapes and lines to create borders or decorative elements.
– Once you’re satisfied with the design, print the name badges onto cardstock or adhesive paper.If you prefer a more professional and polished look for your name badges,consider using HTML tables in Word to organize the information neatly. Here’s a simple example of how you can layout a name badge using an HTML table:
| Name: John Doe |
| Title: Marketing Manager |
 |
By following these tips and utilizing Word’s design tools, you can easily create personalized name badges for your next event or conference. Let your creativity shine with custom images and design elements to make your name badges stand out.
Printing and Finishing Touches for Perfect Name Badges
To create professional-looking name badges using Word, you can follow these simple steps. Start by opening a new document in Word and selecting the “Insert” tab. From there, click on “Text Box” and choose a design that best fits your event or organization. You can customize the text box by changing the font,size,and color.
Next, add the names of the attendees to the name badges. You can do this by typing the names directly into the text box or by importing a list of names from an Excel spreadsheet. Once you have all the names in place, you can adjust the layout and spacing to ensure that the badges look polished and professional. print the name badges on cardstock or heavy paper for a durable finish. To add a finishing touch, consider laminating the badges for extra protection and longevity. With these simple steps, you can create customized name badges that will impress your guests and colleagues.
For a more personalized touch, you can also add logos or images to the name badges. Simply insert the image into the text box and adjust the size and position as needed.This will help to further brand your event or organization and make the name badges stand out. Additionally, consider using specialty paper or cardstock for a unique look and feel. By paying attention to details like font, color, and design, you can create name badges that are not onyl functional but also visually appealing.
Q&A
Q: How do I make name badges in Word?
A: Making name badges in Word is easier than you think! Follow these simple steps to create professional-looking name badges for your next event or conference.
Q: Can I customize the design of the name badges?
A: Yes, you can wholly customize the design of your name badges in Word. You can change the font, color, size, and even add images or logos to make them unique to your event.
Q: What size shoudl I make the name badges?
A: The standard size for name badges is usually around 3×4 inches, but you can adjust the size to fit your needs. Just make sure that the name badges are big enough to be easily read from a distance.
Q: How do I add names to the badges?
A: To add names to the badges, you can simply type them in using a text box or table in word. You can also use a mail merge function to automatically fill in the names if you have a list of attendees.
Q: Can I print the name badges on regular paper?
A: It is recommended to print the name badges on thicker paper or cardstock to ensure they are durable and not easily damaged. However, you can still print them on regular paper if that is all you have available.
Q: Are there any online templates available for name badges in Word?
A: Yes, there are plenty of online templates available for name badges in word that you can download and customize to fit your event. Just do a speedy search and you’ll find a variety of options to choose from.
The Conclusion
As we conclude our exploration of how to create name badges on Word, I hope you’ve gained valuable insight and practical skills to make your next event or gathering truly stand out. Remember,attention to detail and creativity can turn a simple name badge into a memorable keepsake for your guests. so go ahead, experiment with different designs and layouts, and watch your name badges come to life with a touch of personalization. Thank you for joining me on this journey, and until next time, happy badge-making!