As a lover of all things crafty and creative, I have recently dived headfirst into the world of embroidery. One particular project that has captured my attention is the art of making embroidered badges. From the intricate stitches to the endless customization options, creating these unique pieces has become a true labor of love. Join me as I share my journey and offer up some tips on how you too can make your own embroidered badges from the comfort of your home.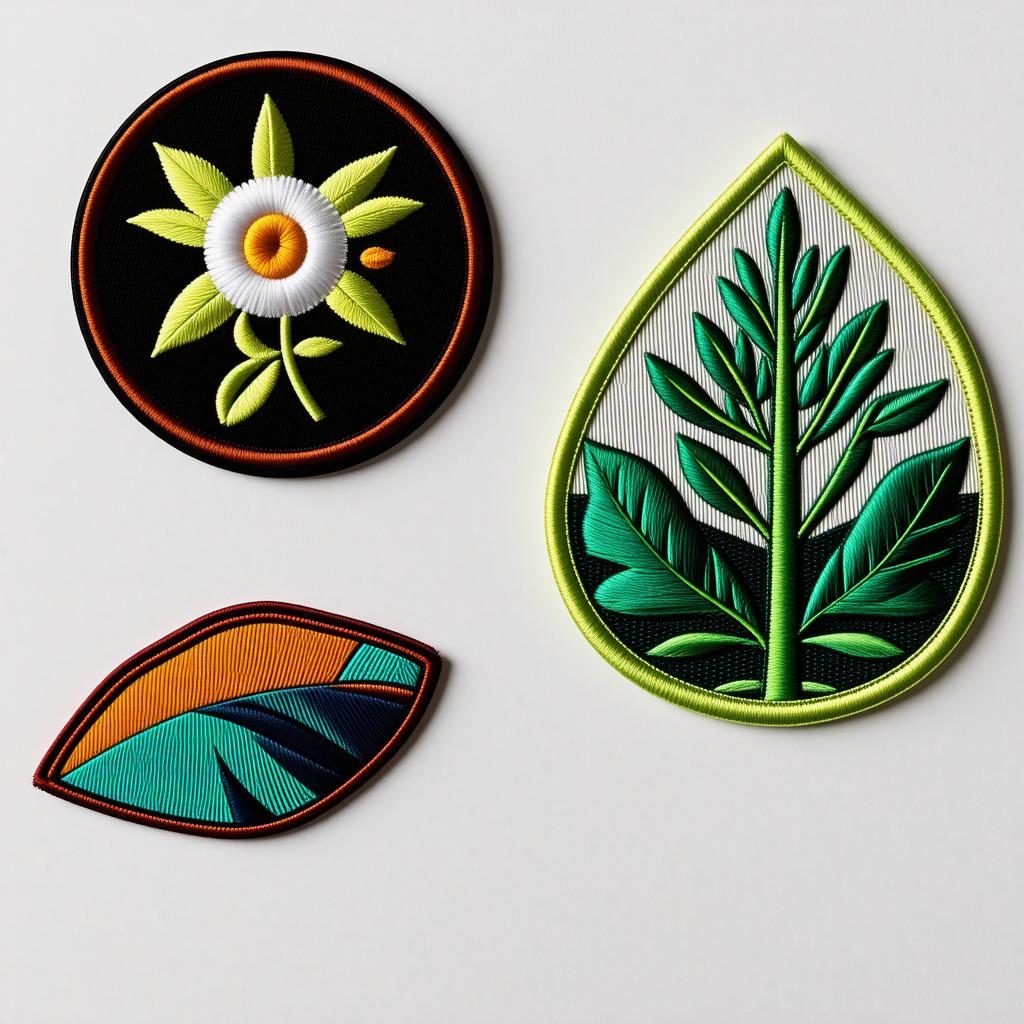
Choosing the Right Fabric for Embroidered Badges
When it comes to making embroidered badges, one of the most crucial decisions you’ll need to make is choosing the right fabric. The fabric you choose will not only affect the look of your badge, but also its overall quality and durability. Here are some tips to help you choose the best fabric for your embroidered badges:
Consider the following factors when selecting the fabric for your badges:
– Type of embroidery: Different fabrics work better with different types of embroidery, so consider what style of embroidery you will be using before choosing a fabric.
– Color: Make sure the fabric color complements the design of your badge.
– Texture: The texture of the fabric can add dimension to your badge, so consider how it will affect the overall look.
– Durability: Choose a fabric that is durable and will hold up well over time.
– Weight: Consider the weight of the fabric and how it will affect the feel of the badge.
Mastering Different embroidery Stitches
Embroidered badges are a great way to showcase your creativity and personal style.To make your own embroidered badges, you will need a few basic supplies such as fabric, embroidery thread, needles, and embroidery hoops. Here are some steps to help you get started:
- Choose a design for your badge. This can be anything from a simple geometric shape to a more intricate pattern or image.
- Transfer your design onto the fabric using a water-soluble pen or pencil. Make sure to secure the fabric in an embroidery hoop to keep it taut while you work.
- Start stitching! Use a variety of embroidery stitches such as backstitch, satin stitch, and French knots to fill in your design and add texture and dimension to your badge.
Once you have finished stitching your design, carefully trim around the edges of the fabric and attach a pin backing or sew the badge directly onto your garment or accessory. With a little practise and patience, you can create beautifully embroidered badges that are sure to impress.
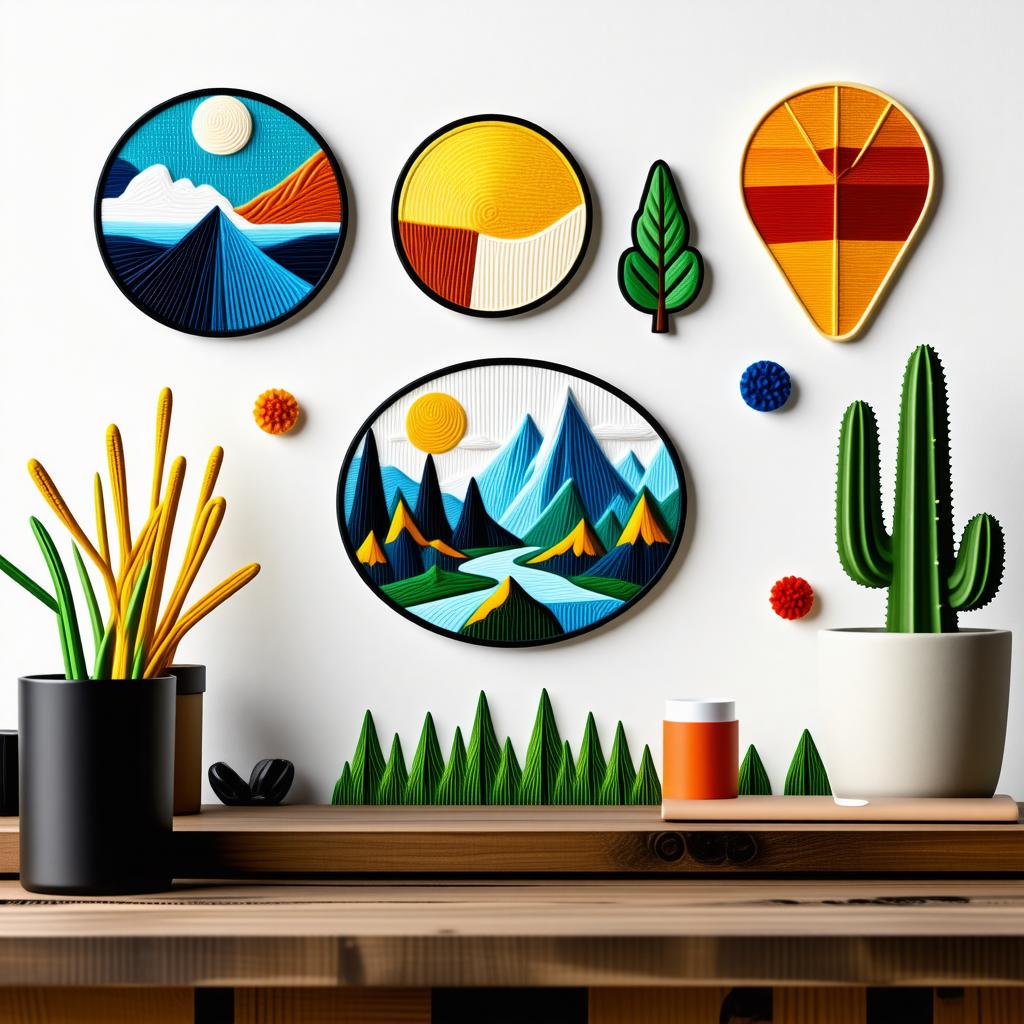
Selecting the Perfect Design for Your Badge
When it comes to creating embroidered badges, selecting the perfect design is essential to ensure that your badge stands out and represents your brand or organization effectively. To make embroidered badges that are eye-catching and memorable, consider the following tips:
First, choose a design that is simple yet impactful. Intricate designs may not translate well to embroidery, so opt for a clean and bold image or logo. Think about the colors you want to incorporate and how they will complement each other on the badge. Consider the size and shape of the badge as well to ensure that the design fits well within the constraints of the embroidery process.
Next, select high-quality materials for your embroidered badges. Choose a durable fabric that will withstand wear and tear,and also vibrant threads that will make your design pop. Consider working with a professional embroidery company to ensure that your badges are crafted with precision and attention to detail. By focusing on design and materials, you can create embroidered badges that make a lasting impression.
Tips and Tricks for Perfecting Your Embroidered Badges
To create stunning embroidered badges, start by selecting high-quality materials such as sturdy fabric and vibrant threads. Choose a simple design that will translate well into embroidery and sketch it onto the fabric with a pencil or disappearing ink pen. Secure the fabric in an embroidery hoop to keep it taut while you work, and use a sharp embroidery needle to achieve precise stitching.
Experiment with different embroidery stitches to add texture and dimension to your badges. Consider using satin stitch for smooth,solid areas,and backstitch for outlining details. French knots can create a raised, tactile effect, while seed stitches are perfect for filling in small areas. Don’t be afraid to mix and match stitches to achieve the desired look for your embroidered badges. With practice and patience, you’ll be able to master the art of embroidery and create stunning, custom badges for any occasion.
Q&A
Q: How do I start making embroidered badges?
A: You can start by gathering all the necessary materials such as fabric, embroidery hoop, embroidery floss, and a needle.
Q: What is the best fabric to use for making embroidered badges?
A: It is indeed recommended to use a sturdy and non-stretchy fabric like canvas or felt for making embroidered badges.
Q: Can I use any type of embroidery floss for making badges?
A: Yes, you can use any type of embroidery floss for making badges. Just make sure to choose a color that complements your design.
Q: Do I need any special skills to make embroidered badges?
A: While some basic sewing skills are helpful, you can easily learn how to make embroidered badges through online tutorials and practice.
Q: How can I make my embroidered badges more unique?
A: You can make your embroidered badges more unique by incorporating different stitches, adding embellishments, and experimenting with different designs.
Q: Are there any tips for making embroidered badges look professional?
A: To make your embroidered badges look professional, make sure to use clean and precise stitches, secure your threads neatly at the back, and trim any excess fabric carefully.
Q: Where can I find inspiration for my embroidered badge designs?
A: you can find inspiration for your embroidered badge designs from websites, social media platforms, and even by looking at other handmade badges.
In Retrospect
Embroidered badges are a timeless and versatile accessory that can add a touch of personality to any garment or accessory.With a few simple tools and materials, you can create your own custom embroidered badges to showcase your unique style and creativity.
I hope this article has inspired you to try your hand at making embroidered badges. Remember, practice makes perfect, so don’t be afraid to experiment and have fun with the process. Whether you’re a seasoned embroiderer or a complete beginner, making embroidered badges is a rewarding and enjoyable hobby that allows you to express yourself through art and craft.
So gather your materials, start stitching, and watch as your designs come to life on fabric. Who knows, maybe one day your embroidered badges will become a signature accessory that others will admire and aspire to create themselves. Happy crafting!