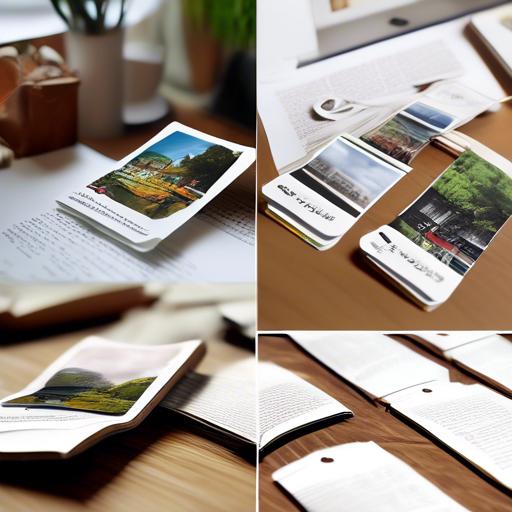
As an avid reader, there’s nothing quite like finding the perfect bookmark to accompany my latest literary obsession. However, the struggle to find a unique, personal bookmark at the store can often led to disappointment. that’s why I’ve decided to take matters into my own hands and create my own custom bookmarks. Join me as I show you how to make bookmarks that are not onyl functional but also serve as a reflection of your individual style and personality. Let’s get crafty and elevate our reading experience to a whole new level!
Gather Materials and Tools
To make your own bookmarks, you’ll need to gather a few key materials and tools before getting started. First, you’ll need some colorful cardstock or thick paper to use as the base for your bookmarks. Look for materials that are sturdy enough to hold up over time but also easy to cut and work with. Next, you’ll want to gather some decorative elements like stickers, washi tape, or markers to add a personal touch to your creations.
Once you have your materials in hand, you’ll also need a few tools to help bring your bookmarks to life. Grab a pair of scissors for cutting out your bookmark shapes, as well as a ruler to ensure straight lines and neat edges. You may also want to have a hole punch on hand to add a tassel or ribbon to your finished bookmarks. With your materials and tools at the ready, you’re all set to start crafting your own unique bookmarks to use or give as gifts.
Get Creative with Designs
To create unique and personalized bookmarks, all you need is a little bit of creativity and some simple materials. Start by gathering colorful cardstock or patterned paper, scissors, glue, and any embellishments you’d like to use. Cut out a rectangle or square shape from the cardstock to serve as the base of your bookmark.
Next, decorate the base with fun designs or quotes using markers, stickers, or stamps. You can also add a tassel or ribbon to the top for an extra touch of flair. Feel free to experiment with different shapes, colors, and textures to make each bookmark one-of-a-kind. Once you’re finished, let the glue dry completely before using your new creations to mark your place in your favorite books.
Need some inspiration? Here are a few ideas to get you started:
| Design | Materials Needed |
| ——-| —————- |
| Floral | cardstock, markers, stickers |
| galaxy | Cardstock, paint, glitter |
| Animal Print | Patterned paper, scissors, ribbon |
| Geometric | Cardstock, washi tape, stamps |
Personalize with Quotes and Images
To create personalized bookmarks, start by choosing meaningful quotes or images that resonate with you. Whether it’s a favorite book passage, a motivational quote, or a beautiful landscape, select something that speaks to your heart. Incorporate these elements into your design to make each bookmark unique and special.
Next, consider using different materials to enhance the aesthetic appeal of your bookmarks. You can experiment with colorful cardstock, patterned scrapbook paper, or even fabric to add texture and depth to your creations. Additionally, try incorporating embellishments like ribbons, stickers, or beads to make your bookmarks truly stand out. Remember, the key is to make each bookmark a reflection of your personality and style, so don’t be afraid to get creative and let your inventiveness run wild.
Finish with protective Coating
To finish off your handmade bookmarks, it is meaningful to apply a protective coating to ensure they last a long time. This not only keeps them looking fresh and vibrant but also protects them from wear and tear. Here are some steps to follow in order to finish your bookmarks with a protective coating:
- Choose the right coating: Select a protective coating such as a clear varnish or laminate that will seal and protect the bookmarks.
- Apply the coating: Using a brush or spray, evenly apply the protective coating to both sides of the bookmarks to ensure complete coverage.
Once the coating has been applied, allow it to dry completely before handling the bookmarks. This will ensure that the coating sets properly and provides the maximum protection. with this final step, your handmade bookmarks are ready to be used or gifted to others, showcasing your creativity and attention to detail.
Q&A
Q: How can I make my own bookmarks?
A: Making your own bookmarks can be a fun and creative way to personalize your reading experience. Here are some simple steps to get you started.
Q: What materials do I need to make bookmarks?
A: You can use a variety of materials including cardstock, ribbon, decorative paper, markers, stickers, and even old magazines or photographs. Get creative and use whatever materials you have on hand.
Q: What are some ideas for bookmark designs?
A: You can create bookmarks in all shapes and sizes. Some fun ideas include using colorful ribbon and beads, painting or drawing your own designs, or using a collage of images and quotes that inspire you.Q: How can I make my bookmarks more durable?
A: to make your bookmarks more durable, consider laminating them or covering them with clear contact paper. You can also reinforce them with cardstock or thicker paper to prevent bending or tearing.
Q: Can I give bookmarks as gifts?
A: Absolutely! Handmade bookmarks make thoughtful and personalized gifts for friends and family. Consider creating bookmarks with special quotes or designs that reflect the recipient’s interests or personality.Q: Where can I find more inspiration for making bookmarks?
A: You can find endless inspiration for making bookmarks online, through DIY crafting websites, social media platforms like Pinterest, or by attending crafting workshops or classes in your community. let your creativity flow and enjoy the process of making your own unique bookmarks.
To Conclude
As we wrap up our journey on how to make bookmarks, I hope you feel inspired to get crafty and create your own unique bookmarks to accompany you on your reading adventures. Remember, the beauty of making bookmarks lies in the personal touch you add to each one, making it a special keepsake for yourself or a thoughtful gift for a fellow bookworm. So grab your supplies,unleash your creativity,and start crafting your own bookmarks today. Happy reading!


